Creating a project: step-by-step guide
Welcome to ExpiWell! This guide will walk you through the process of creating a project on our platform. It's easy!
Main Dashboard
After logging in, you'll land on your main dashboard. To create a new project, click on either the '+ New' or 'Create Project' button.
Naming Your Project
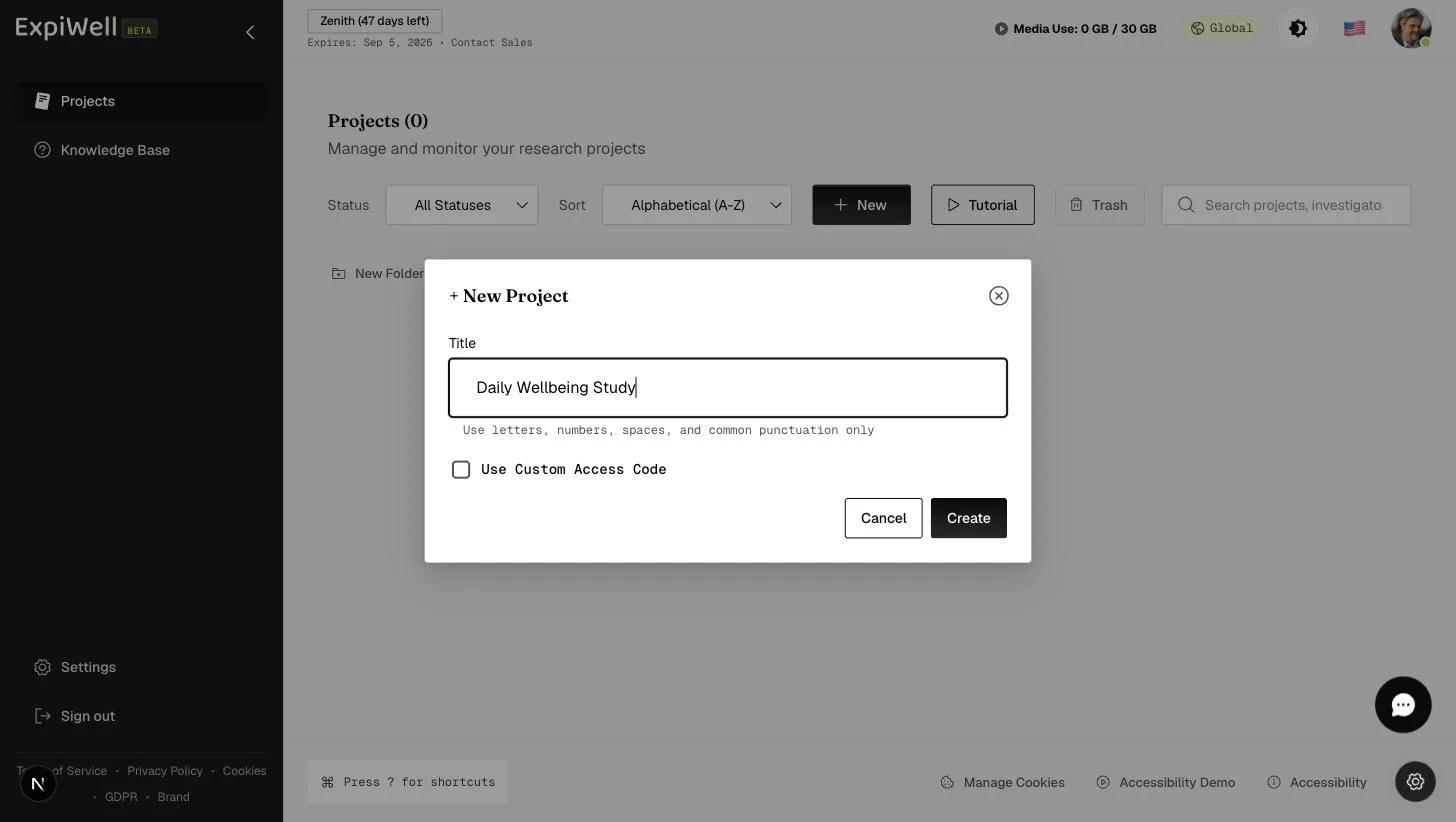
Go ahead and name your project. By default, the system will generate a randomized access code that participants will use to gain access to the project; however, you will have the option to customize your access code.
Participants will only have to enter the access code once.
Project Setup Steps
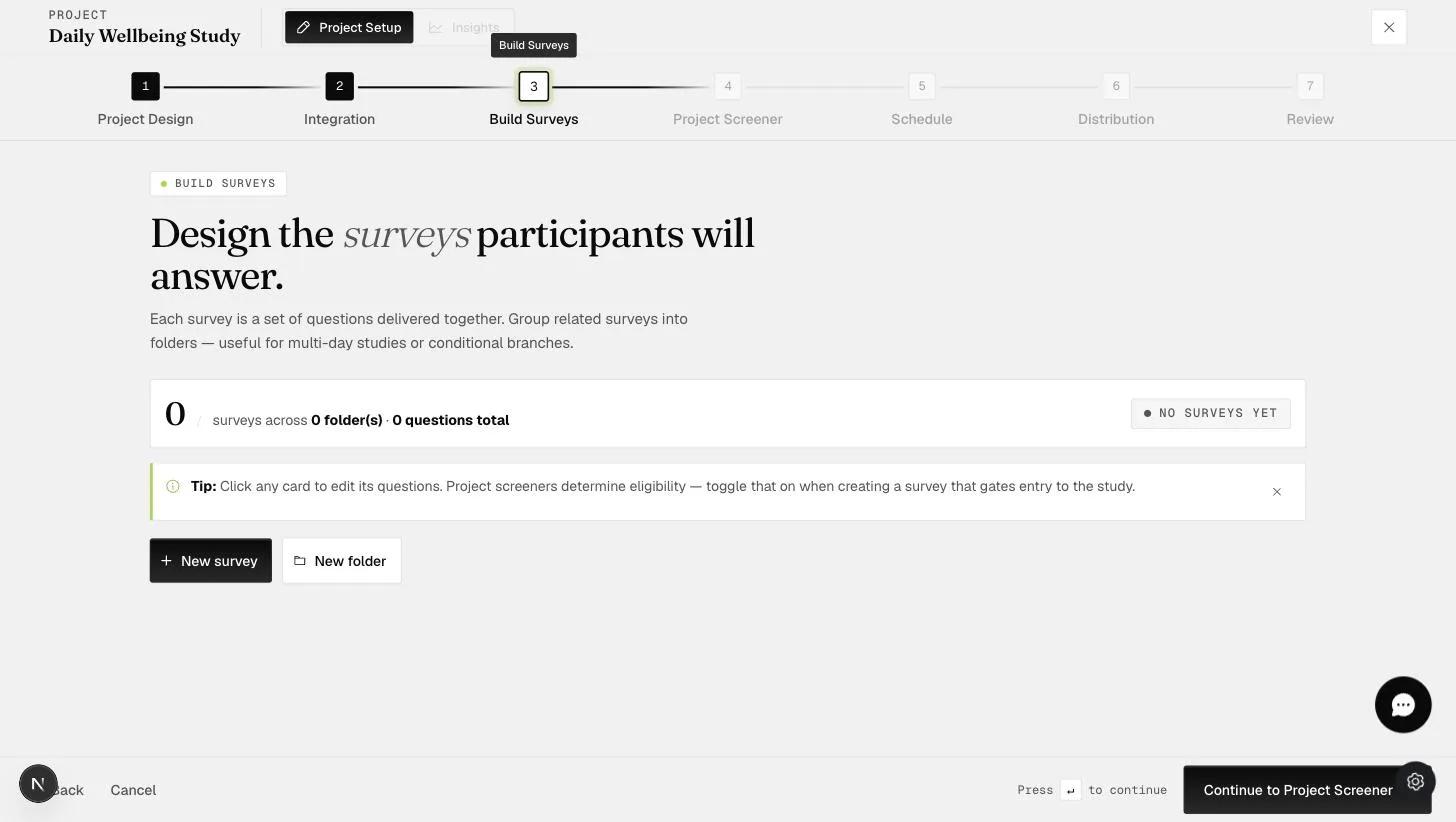
After naming your project, you'll land on the project setup wizard. Its steps run across the top: Project Design → Integration → Build Surveys → Project Screener → Schedule → Distribution → Review. Use 'Continue' at the bottom of each step to move to the next one.
-
Project Design — choose how participants interact with your study: Individual (each participant independently — the default), Groups (synchronized cohorts), or Accountability (paired). Then continue.
-
Integration — optionally connect a wearable or data source (Fitbit, Continuous location tracking, Apple Watch, or SensorKit Data). Only one integration can run per study; skip this step if you don't need one, then continue to Build Surveys.
Building Surveys
On the 'Build Surveys' step, you design the surveys participants will answer.
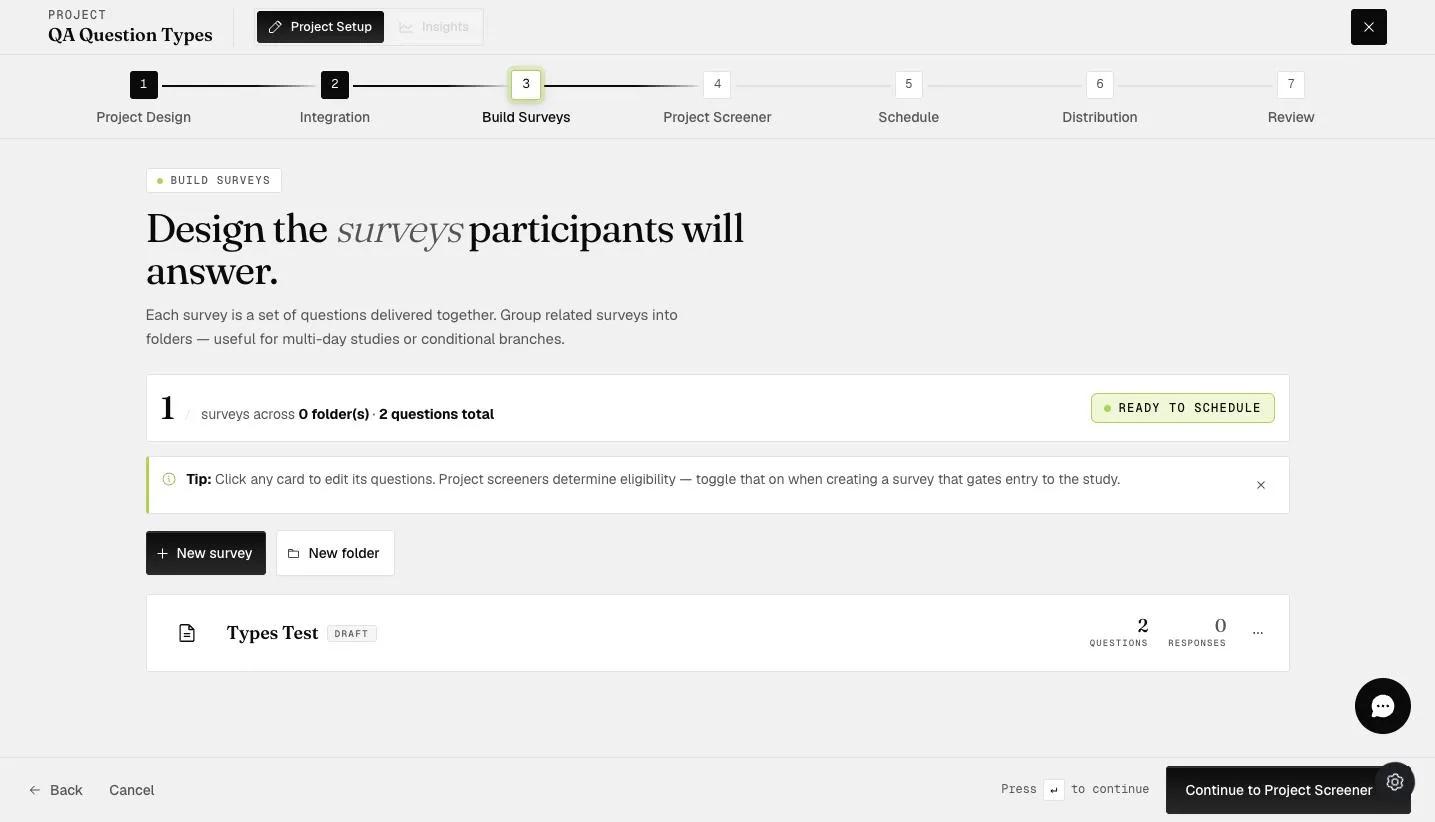
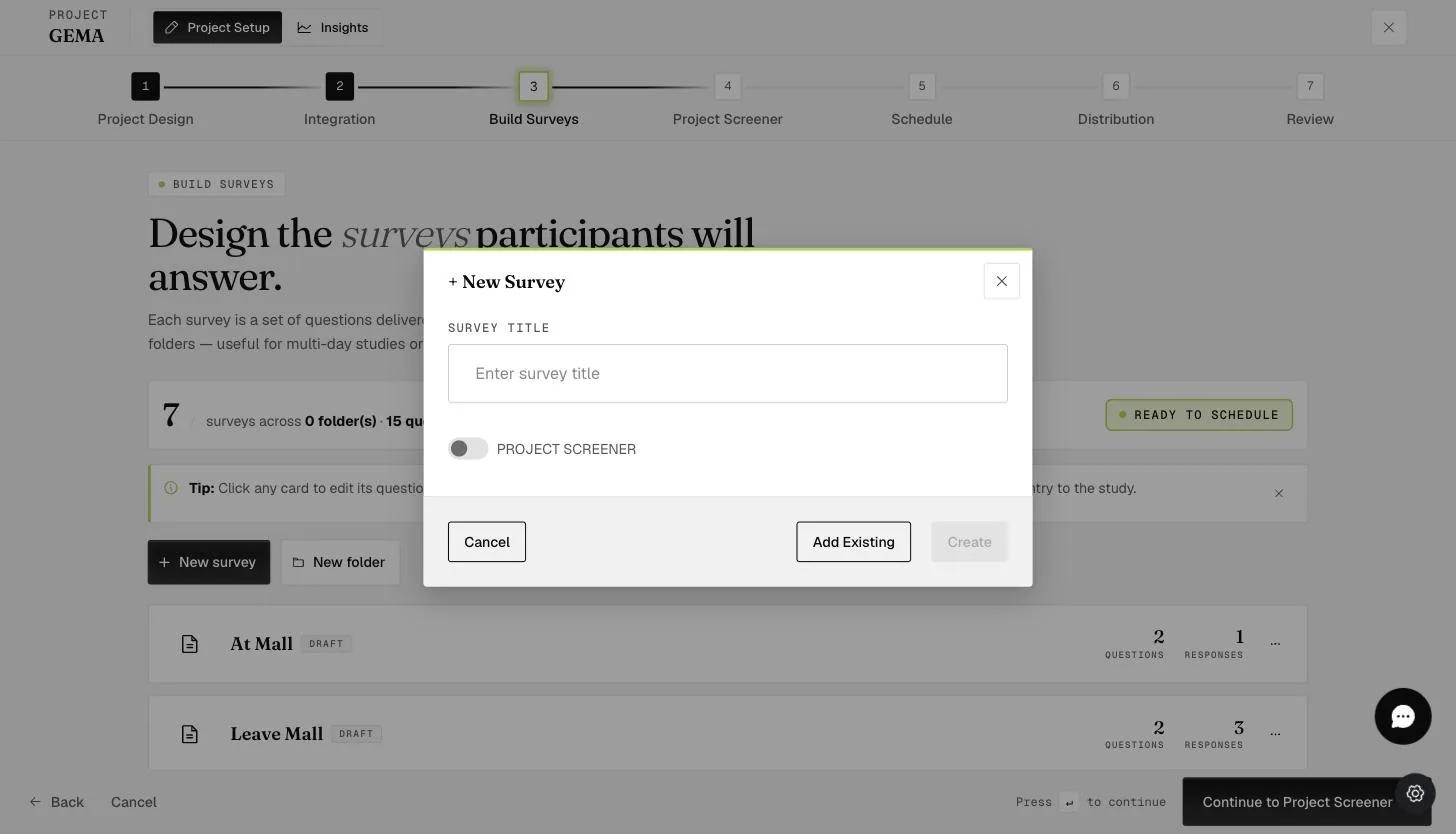
Click '+ New Survey' to add a survey.
Enter your survey title, and click 'Create'.
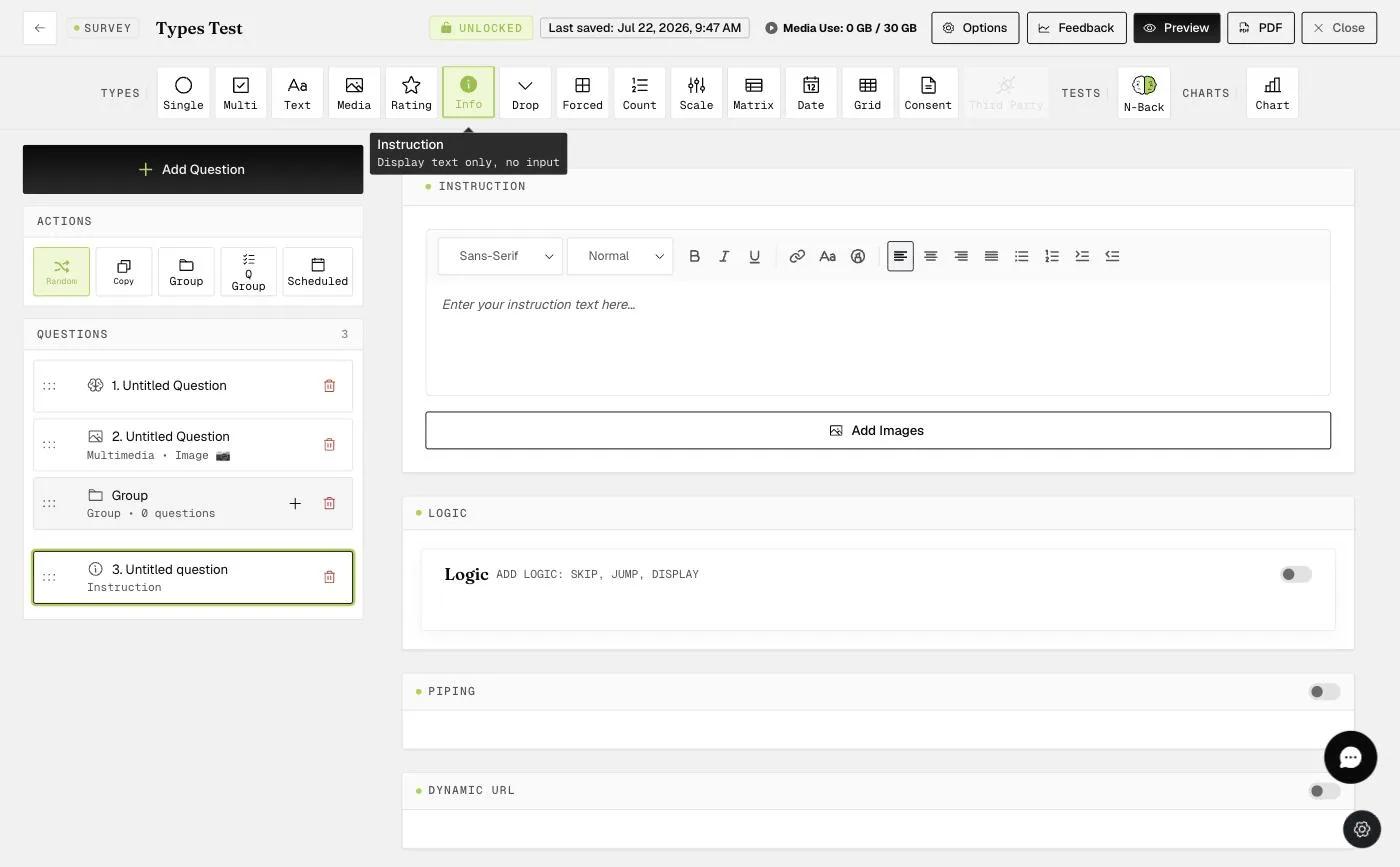
We've now moved to the survey building section. Here, under the 'TYPES' category, you'll find various question types available for selection. You might consider starting with the INSTRUCTION question type. This allows you to include instructions, a thank-you message at the end of the survey, or even consent information in the beginning.
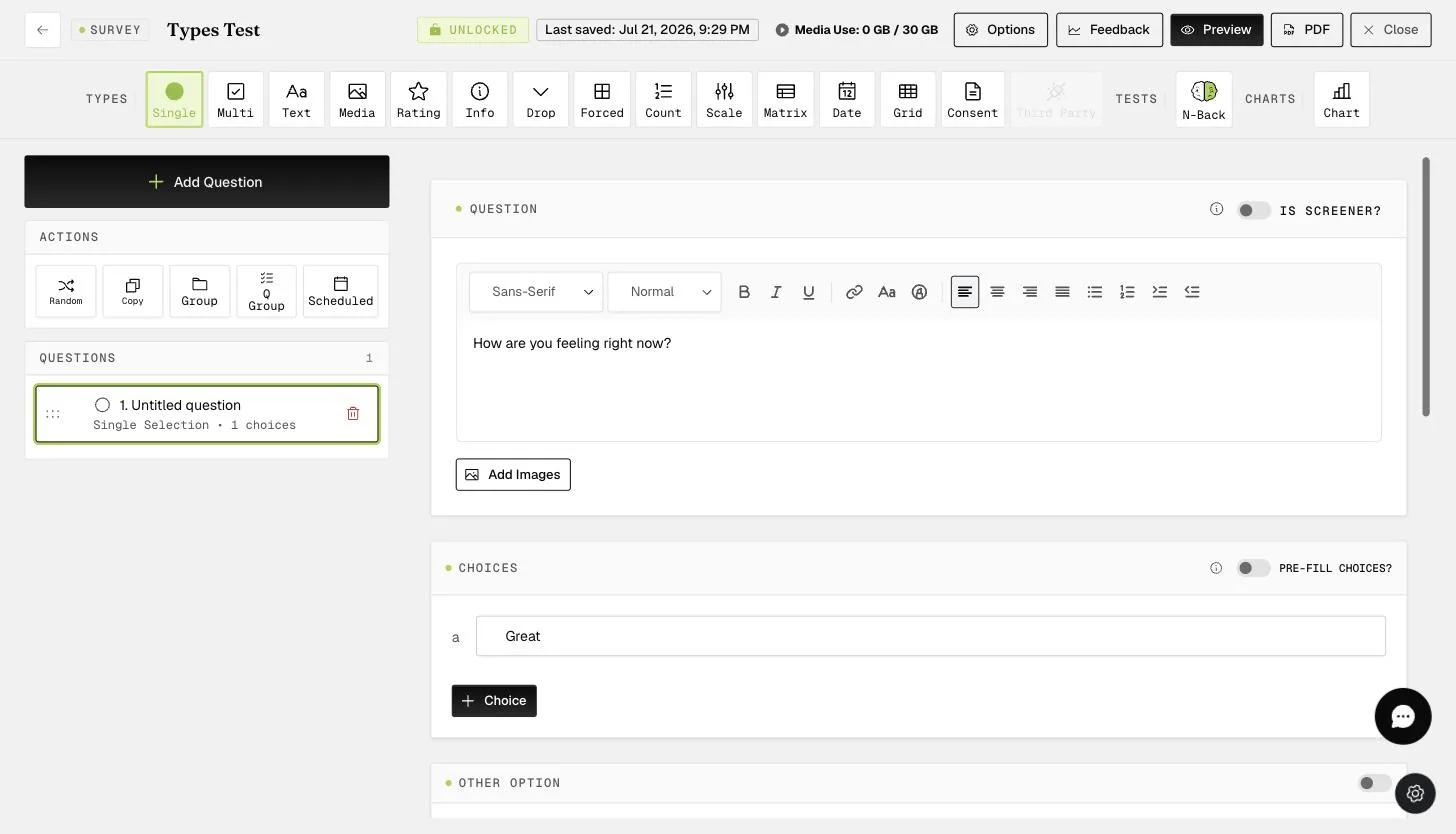
Next, let's look at an example of the SINGLE SELECTION question type. After you've written your question, you have the option to manually input the choices or use the 'Pre-fill Choices' feature. This Pre-fill Choices feature provides a list of options that may be suitable for some of your questions, such as Strongly Agree - Strongly Disagree or Excellent - Poor, among others.
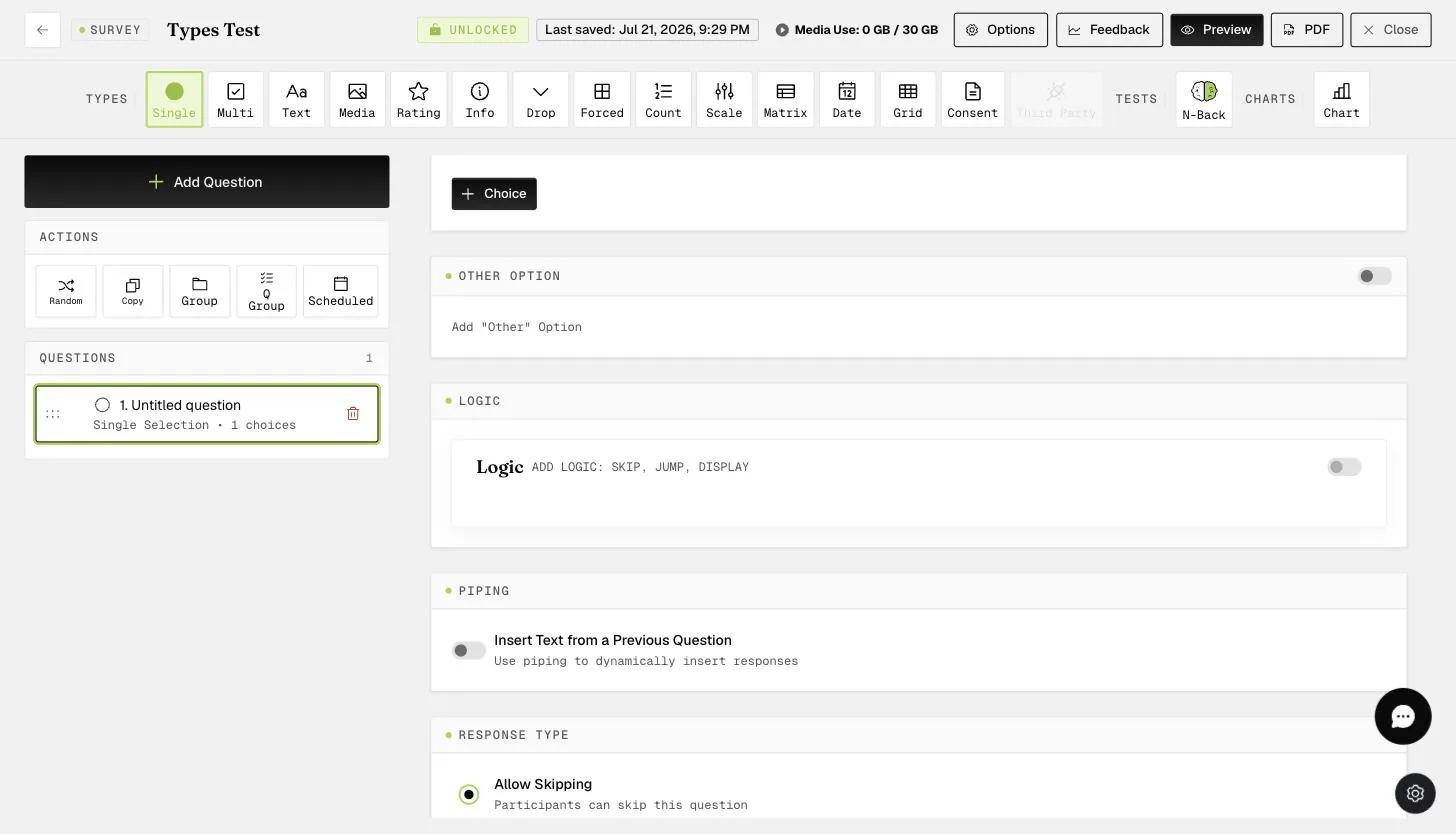
By scrolling down, you will be able to see some options such as LOGIC (to control the behavior of your survey based on how participants respond to the previous questions), etc.
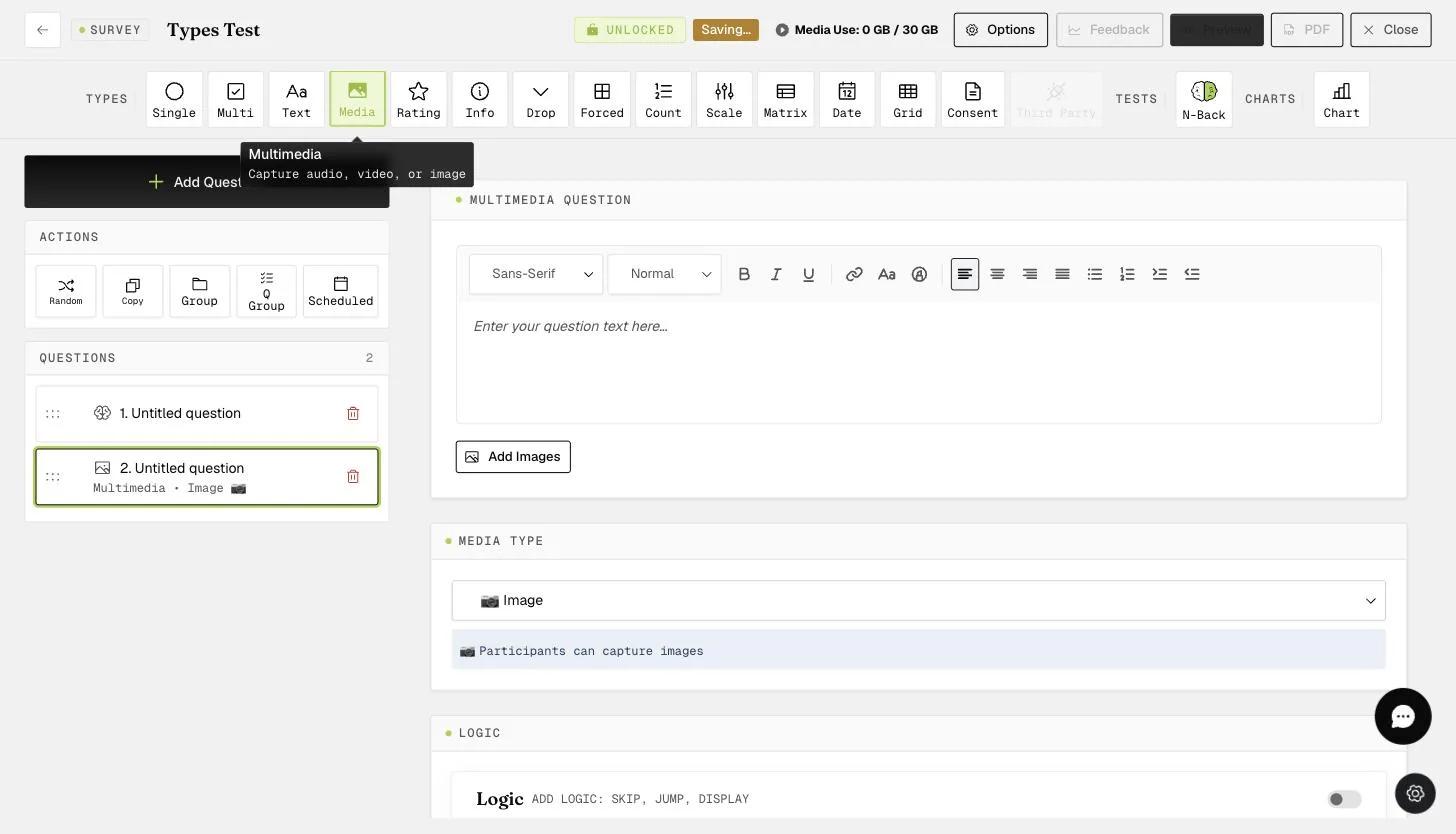
Another example is the MULTIMEDIA question type, enabling you to collect images, audio, and videos for richer data collection beyond traditional surveys. This feature is enhanced by AUTOMATED TEXT TRANSCRIPTION, further streamlining data interpretation.
After creating your questionnaire, you can return to the previous page to create additional questionnaires or move on to the next tab. In this example, we've also created a longer survey (Baseline), and we'll schedule these surveys differently in the next tab.
Note: You will be able to create as many surveys as needed.
Survey Scheduling
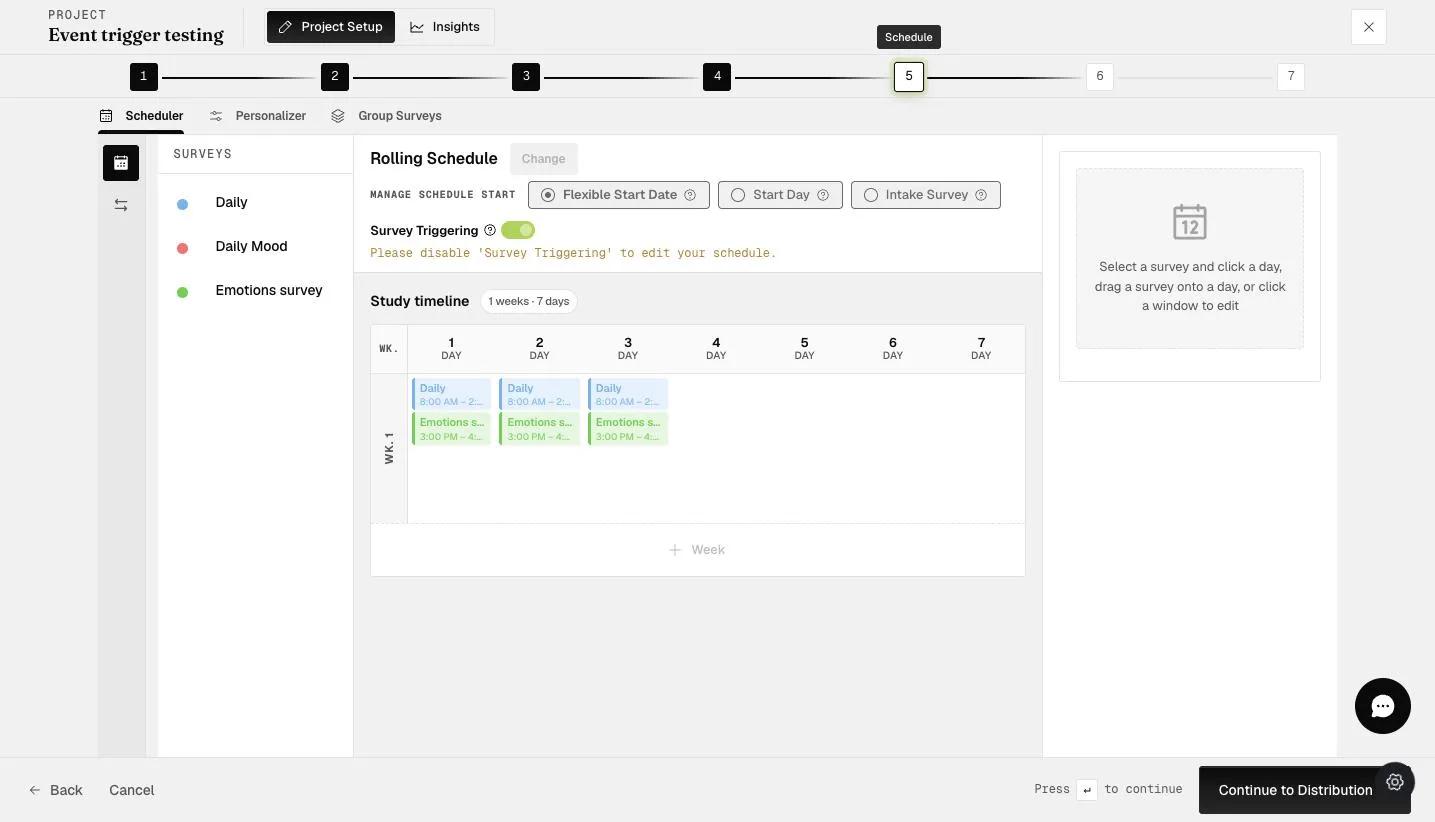
Proceed to the SCHEDULE step, and you will be able to choose your schedule type.
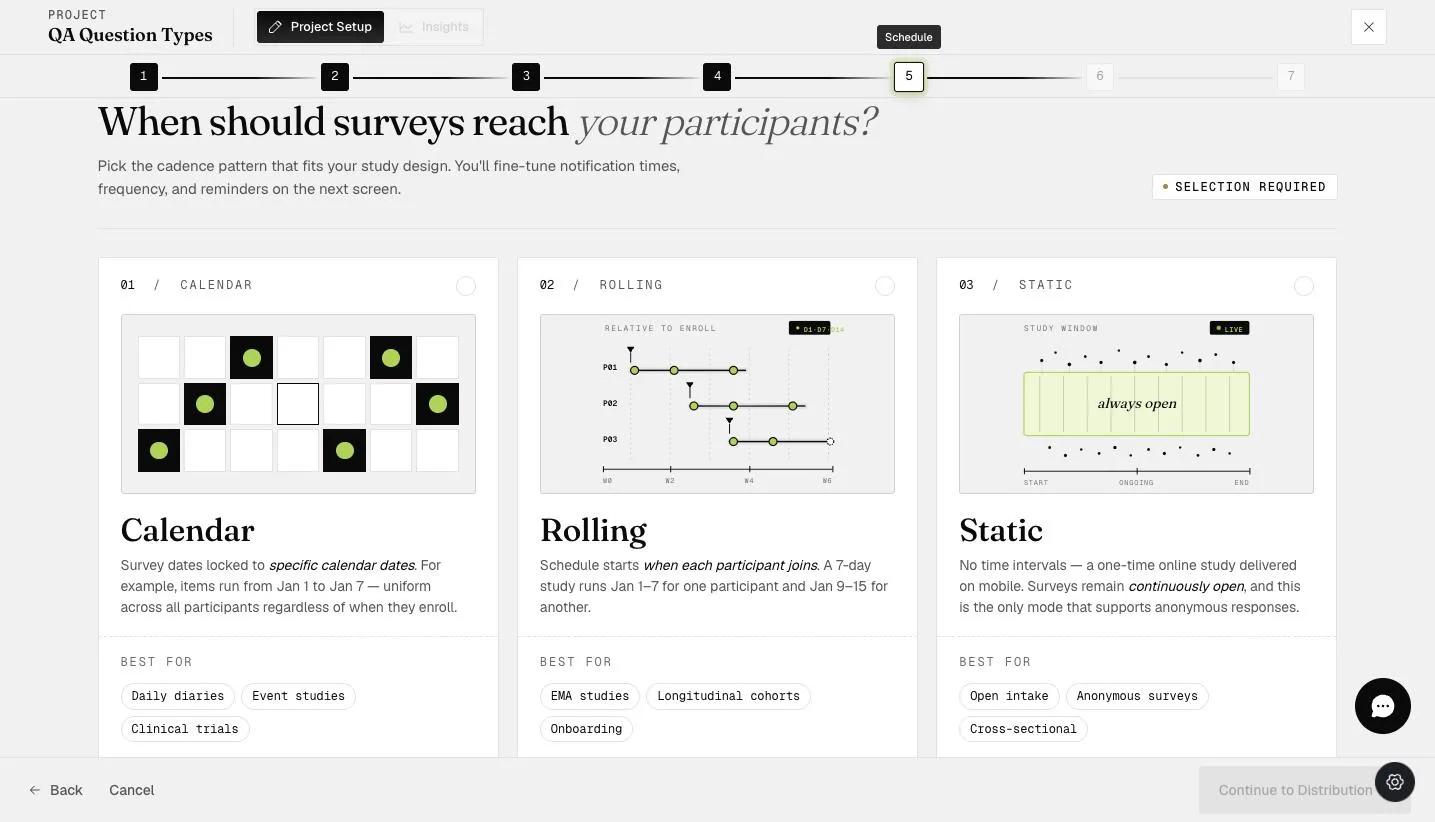
In this example, we're using the ROLLING schedule type, allowing participants to start at their convenience. Some may begin this week, while others may start next week, yet everyone will receive the same number of surveys. The list of surveys is displayed on the left, with scheduling days shown next to them.
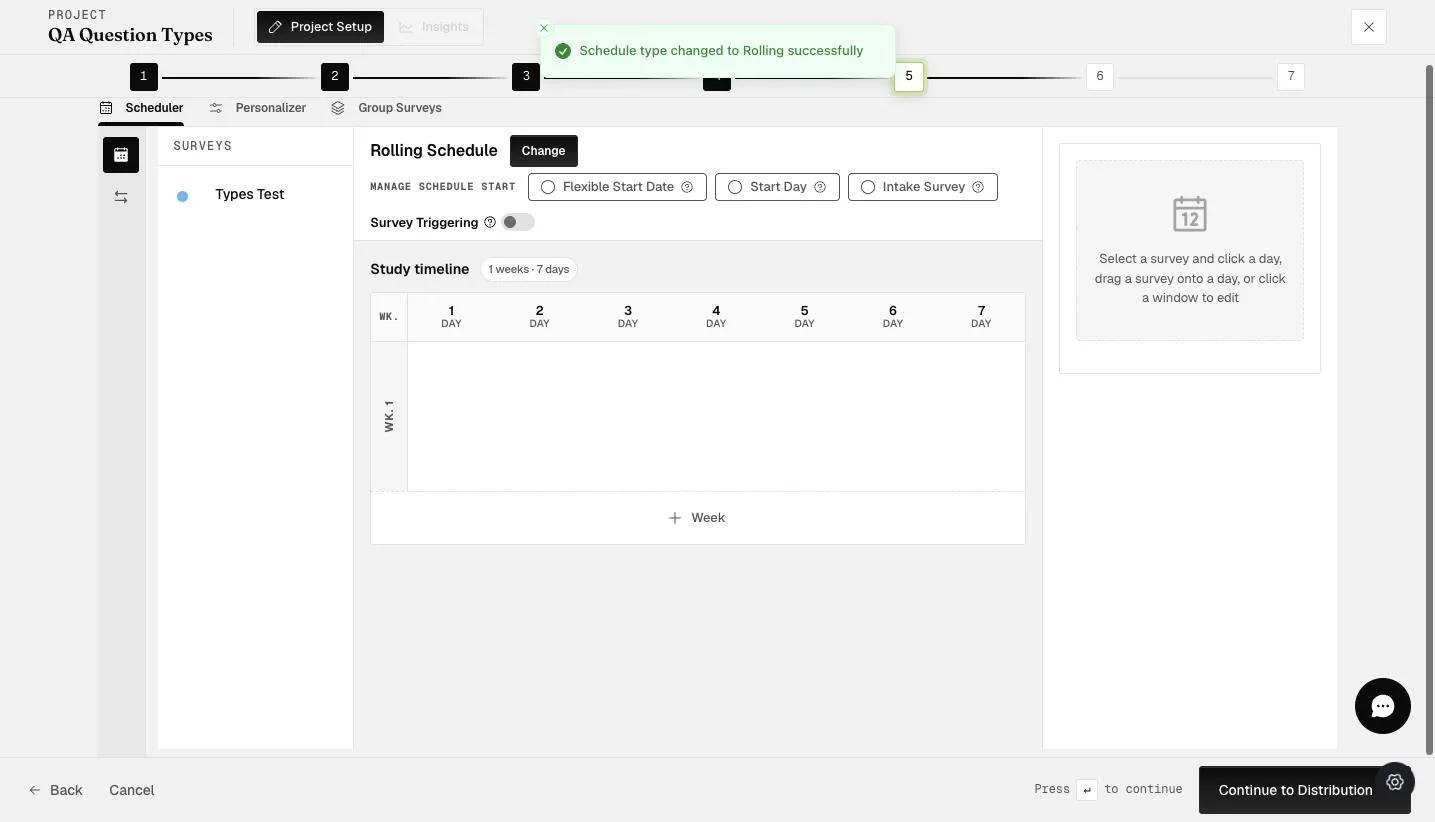
To schedule surveys, simply drag them to your preferred day (e.g., week 1, day 1). Surveys are available for 24 hours by default, but you can adjust the window times or extend them to the next day or custom days.
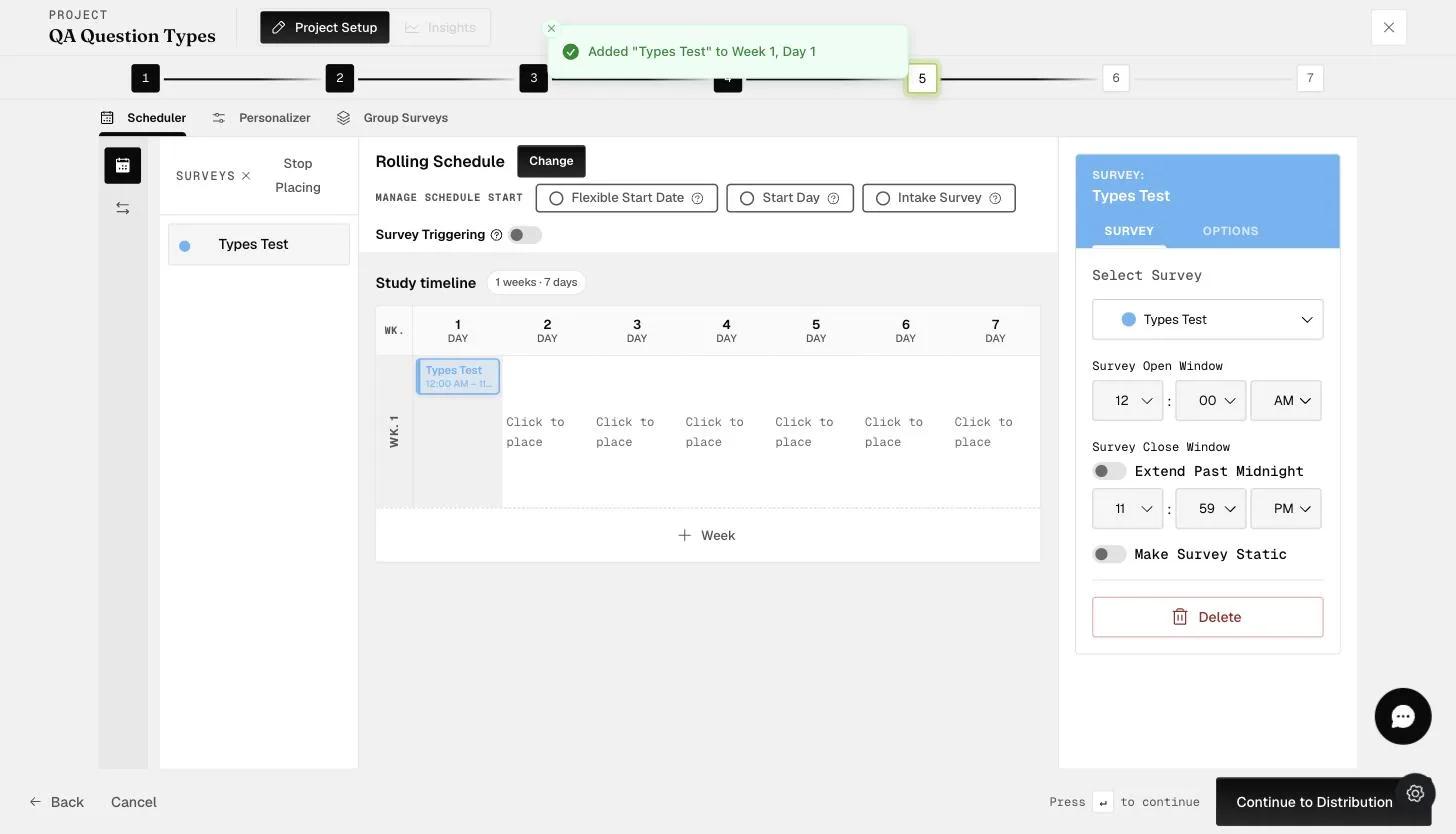
For instance, we've set the MORNING SURVEY window from 9-10 AM. Additional options are available by clicking 'OPTIONS'.
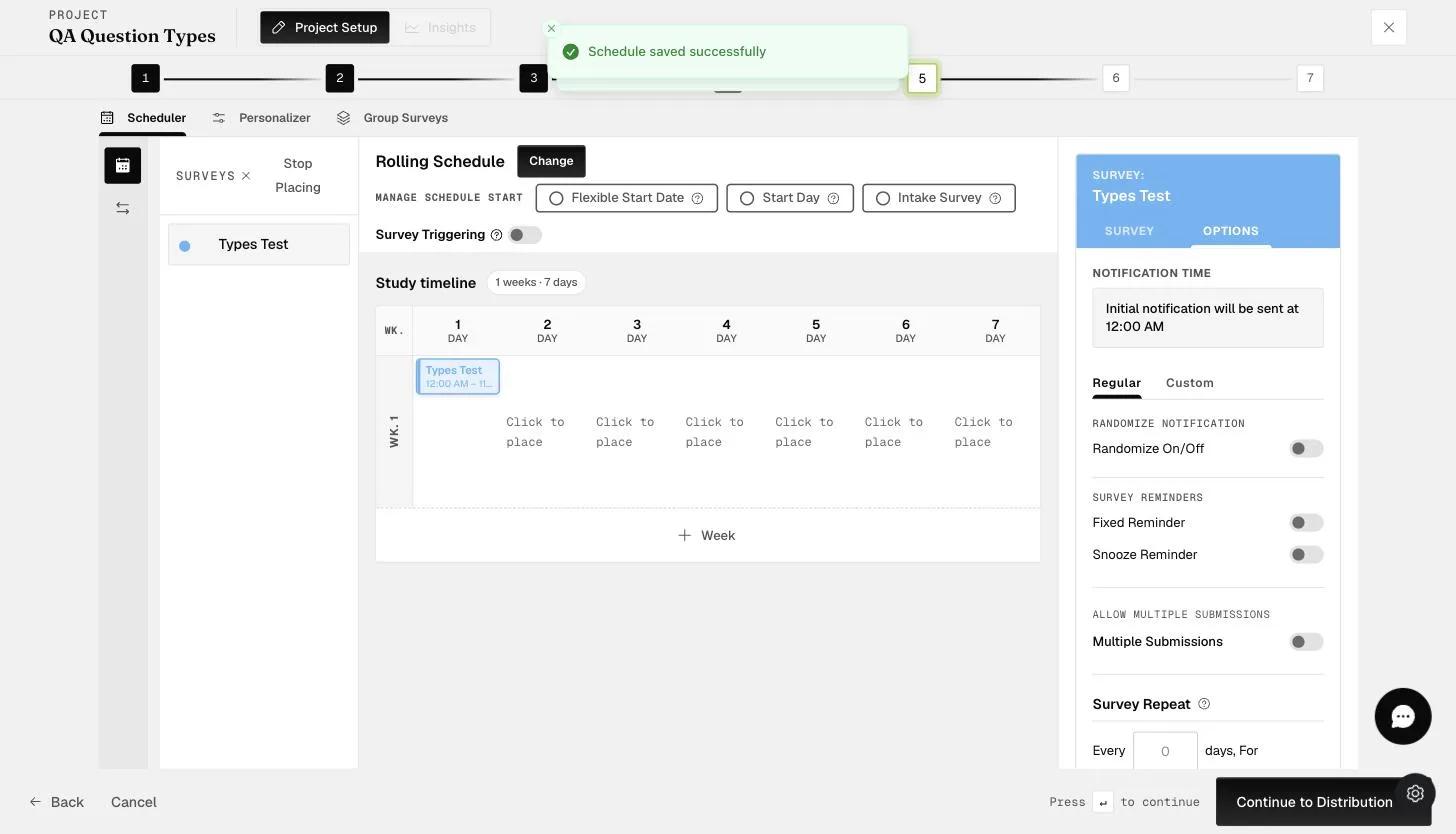
Participants will receive initial notifications during the open window, but you can also randomize it. In this case, a fixed reminder is set 30 minutes after the initial notification, and the survey repeats every day for 6 additional days, totaling 7 days of morning surveys. Click 'Apply' to implement these.
By randomizing the notifications, each participant will receive notifications at different times, and these times will vary daily.
The scheduling layout looks like this: the BASELINE SURVEY is available on the first day, followed by the ESM part starting on the second day for 7 consecutive days.
Distribution
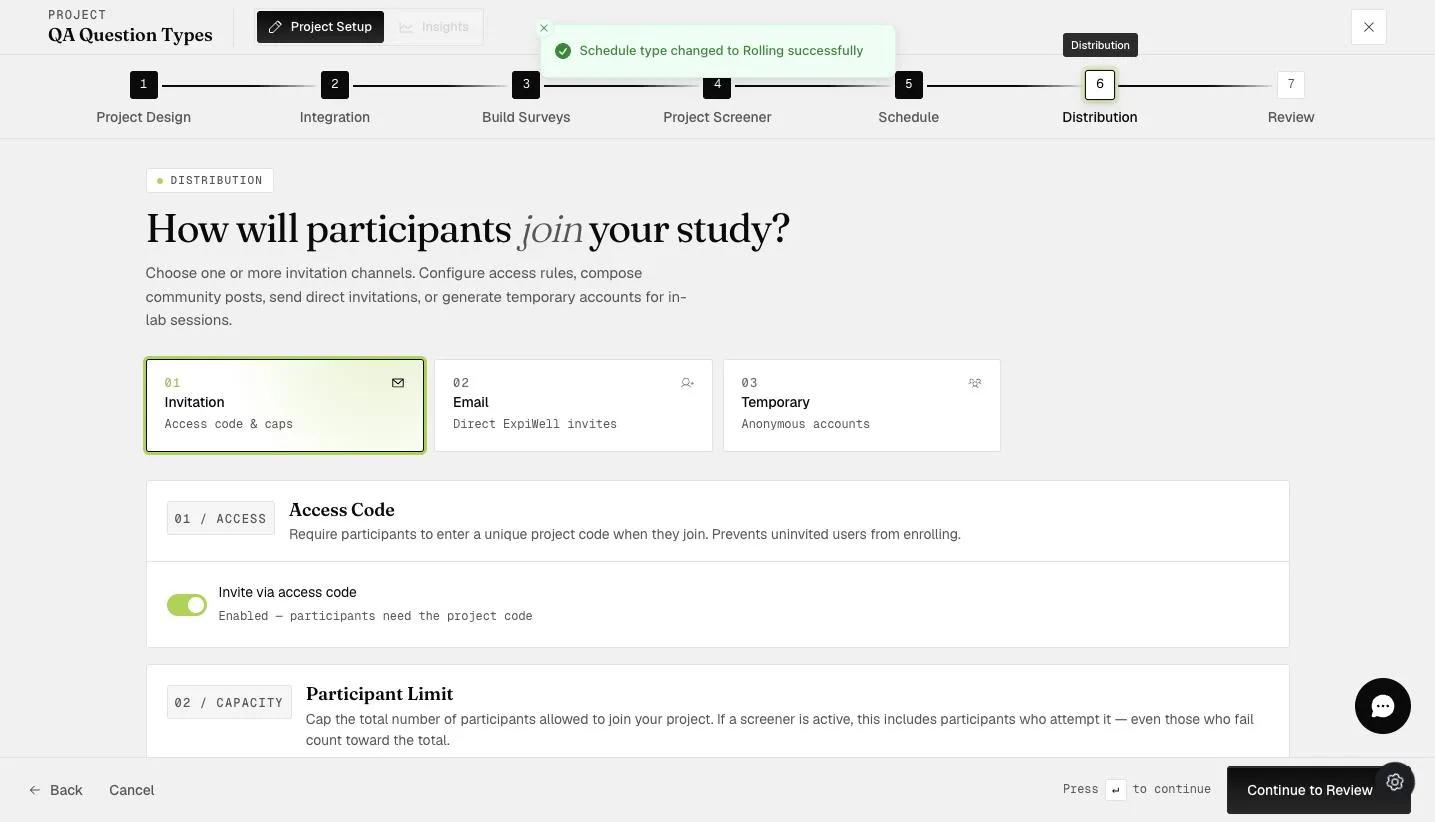
After scheduling your questionnaire, proceed to the DISTRIBUTION step, and simply toggle 'Invite via access code'.
Review and Activation
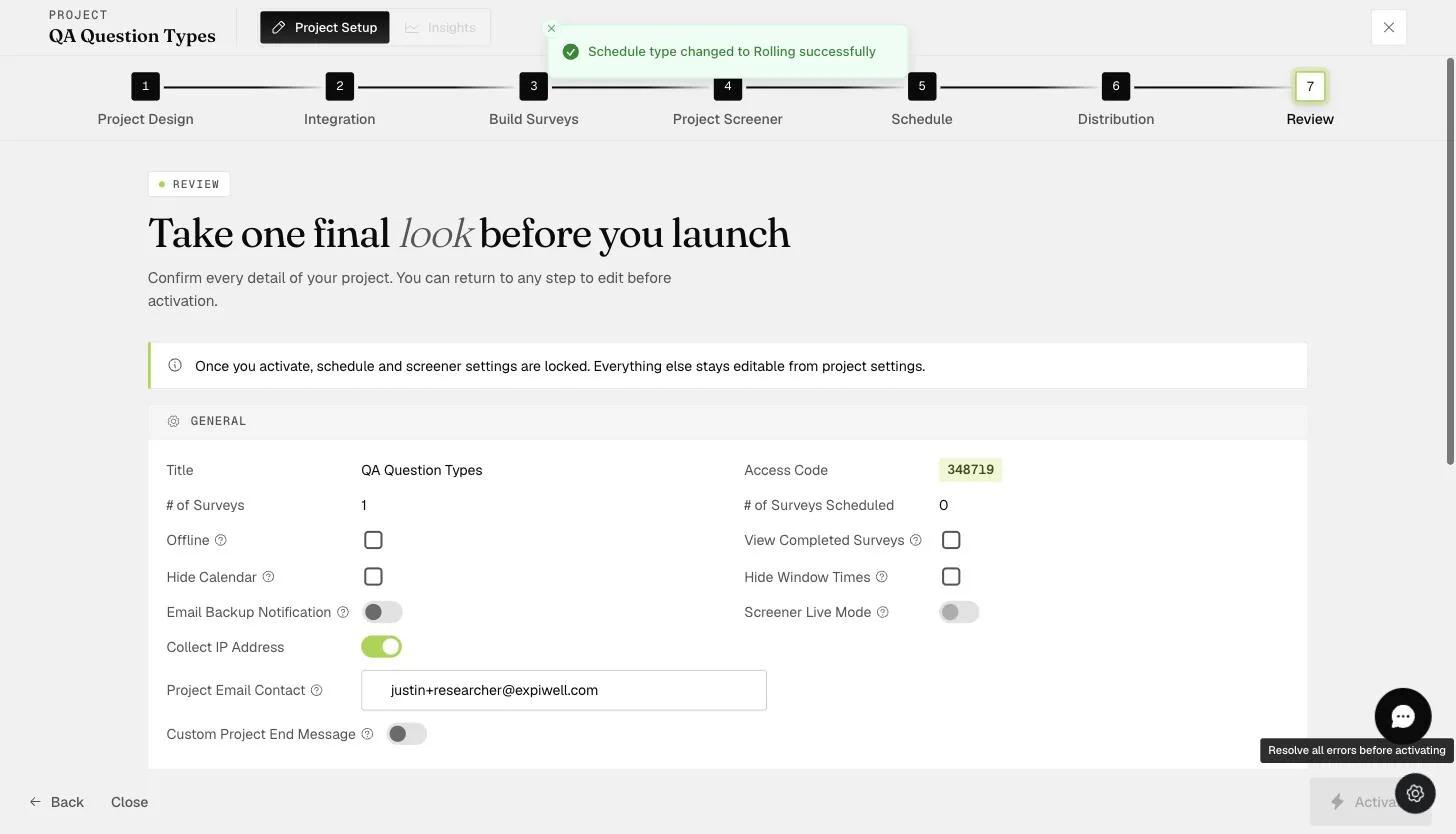
Review your project settings and activate your project to start data collection.
Monitoring and Insights
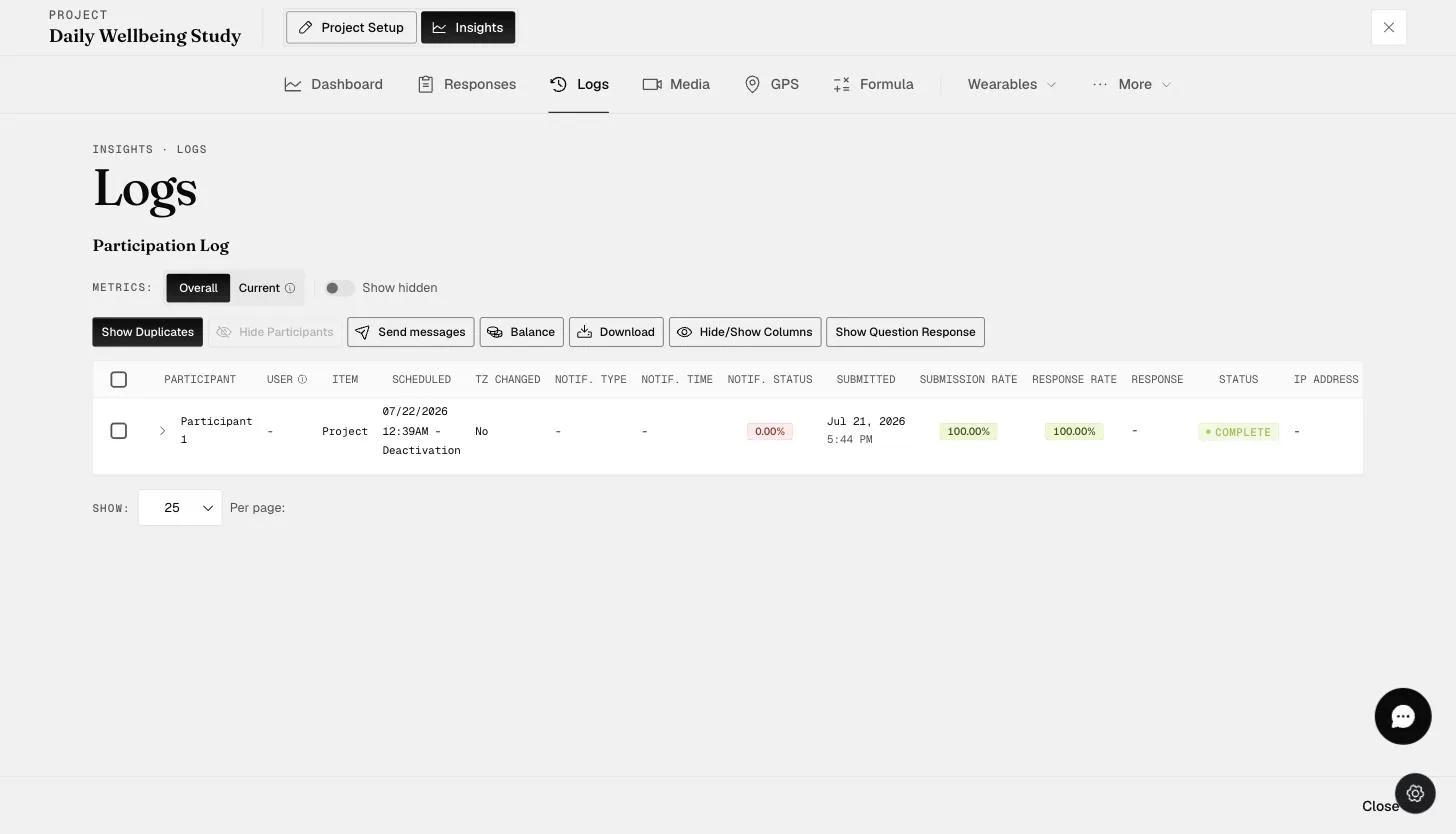
Monitor participant responses and interactions under the 'Insights' tab. You can download the response data for analysis by clicking the 'Download' button under 'Responses'.
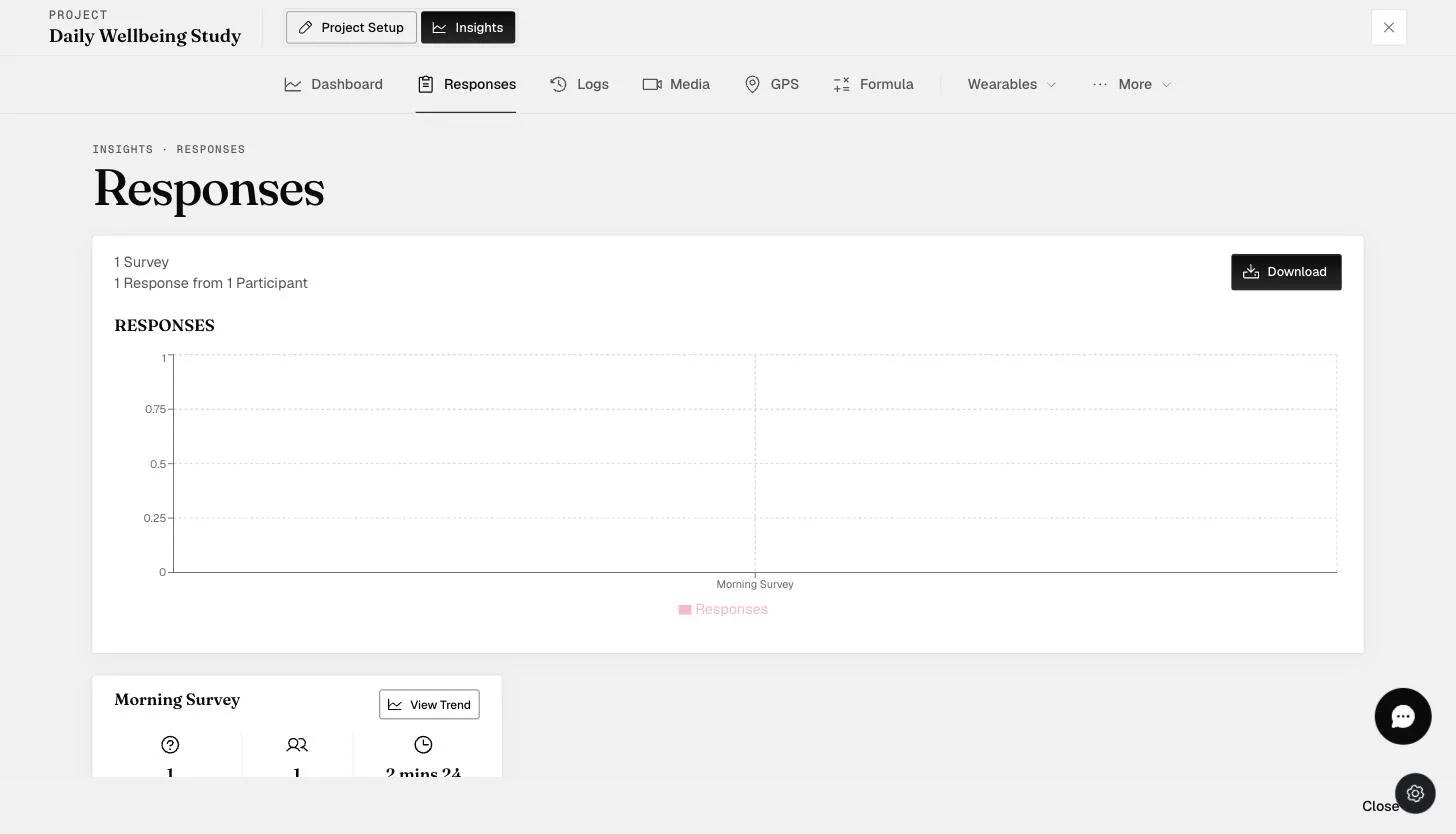
Check participant logs in the 'Logs' tab to track survey engagement.
That's it! You've successfully created a project on ExpiWell. Our platform is designed to be user-friendly yet powerful, allowing you to collect data efficiently for your research or study.
If you have any further questions, feel free to reach out to help@expiwell.com