Logs
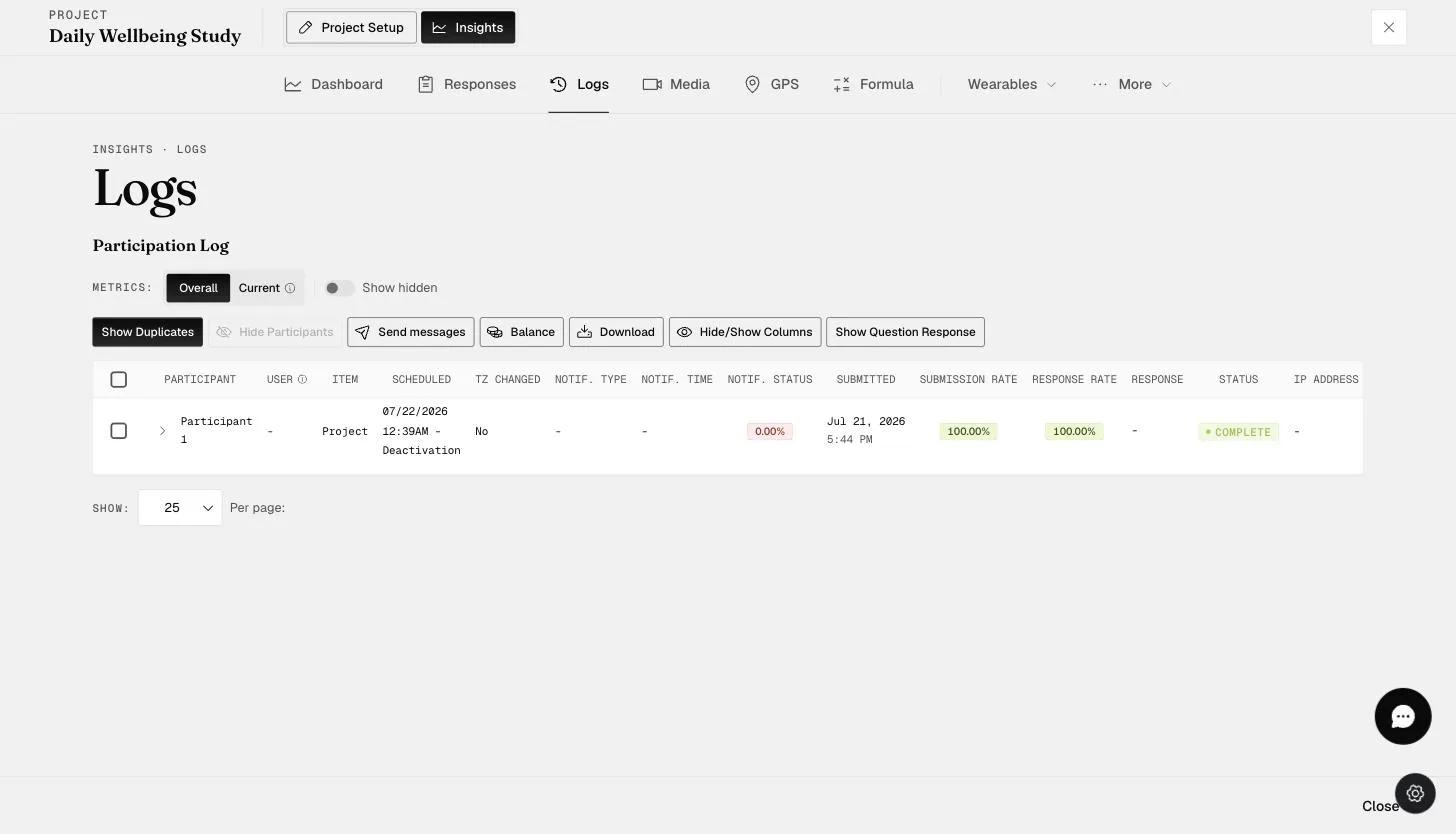
In ecological momentary assessments and experience sampling research, it is crucial for researchers to have real-time access to the progress of data collection. ExpiWell provides the Logs tab for researchers to monitor this information and interact with participants. Notable features include:
-
Notifications and reminders: Check if all participants are receiving notifications and reminders.
-
Submission and response rates: See if participants are submitting their surveys. Track the overall response rate of the project in real time.
-
Sending additional push notifications: If participants have a low response rate, feel free to send additional reminders!
-
Participant payments: Compensate participants based on their response rates.
-
Remove or block participants: Ensure only eligible individuals remain in the project by removing or blocking ineligible participants.
-
Show individual question responses: If you ask for identifying information in your surveys (e.g., emails, unique IDs) you can display that information.
-
Fitbit and Apple Watch data range: Review the data range of collected Fitbit and Apple Watch parameters.
Overview
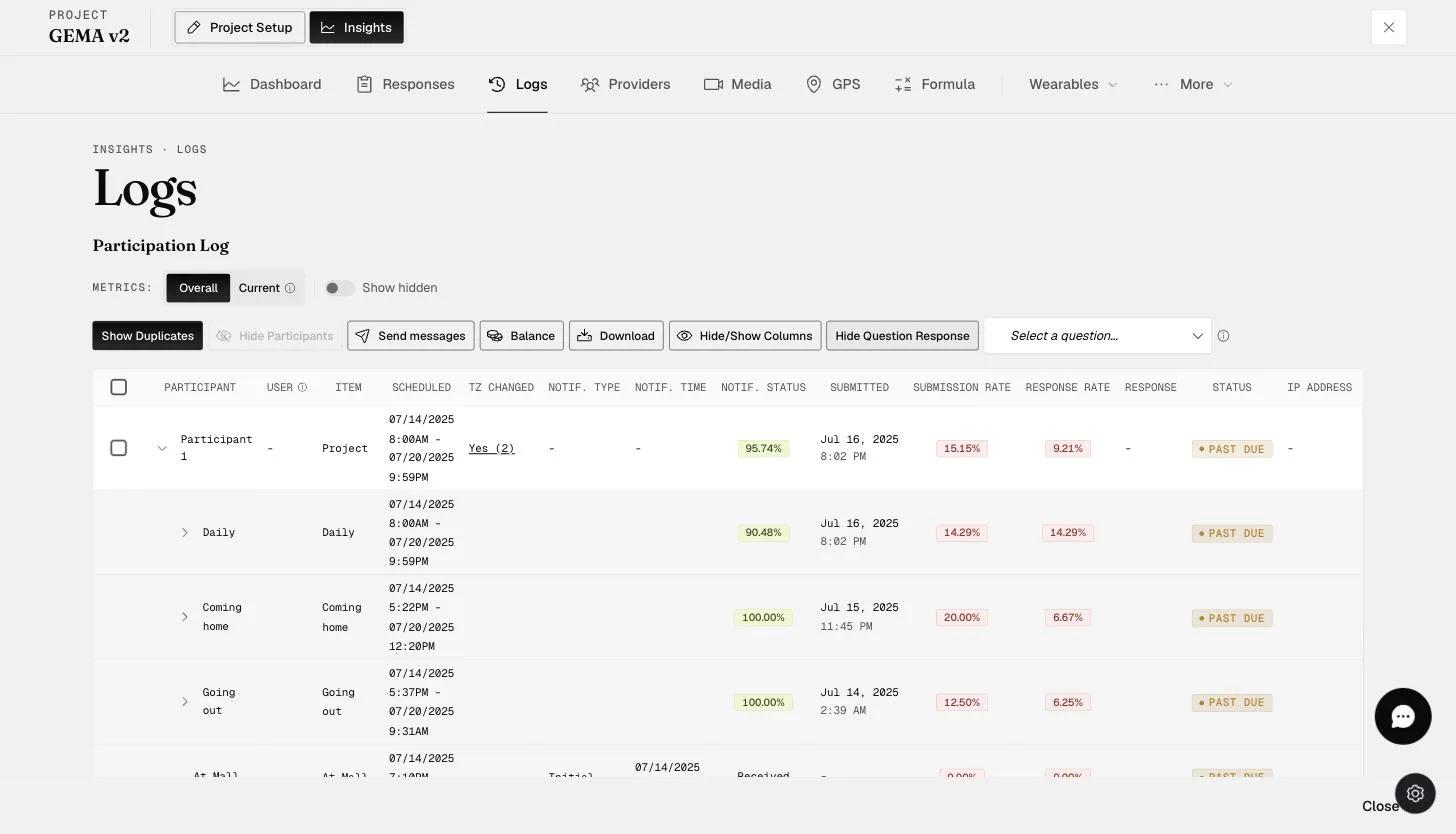
Researchers can access the "Logs" page under the "Insights" tab.
Here, you will have a quick overview of all the participant information.
Participant
ExpiWell provides a simple but unique participant number for each participant in the log. The first participant who joins the project will be Participant 1, followed by Participant 2, and so on.
Please note that participants in different projects will have different participant numbers. However, the unique alphanumeric ExpiWell Participant ID will remain the same across all projects.
User Account
User account data will be shown if the participant was invited to join the project via email under 'Invite Participants by ExpiWell Account' or has used a 'Temporary Participant Account' to log in.
Item
This shows the overall project and created surveys.
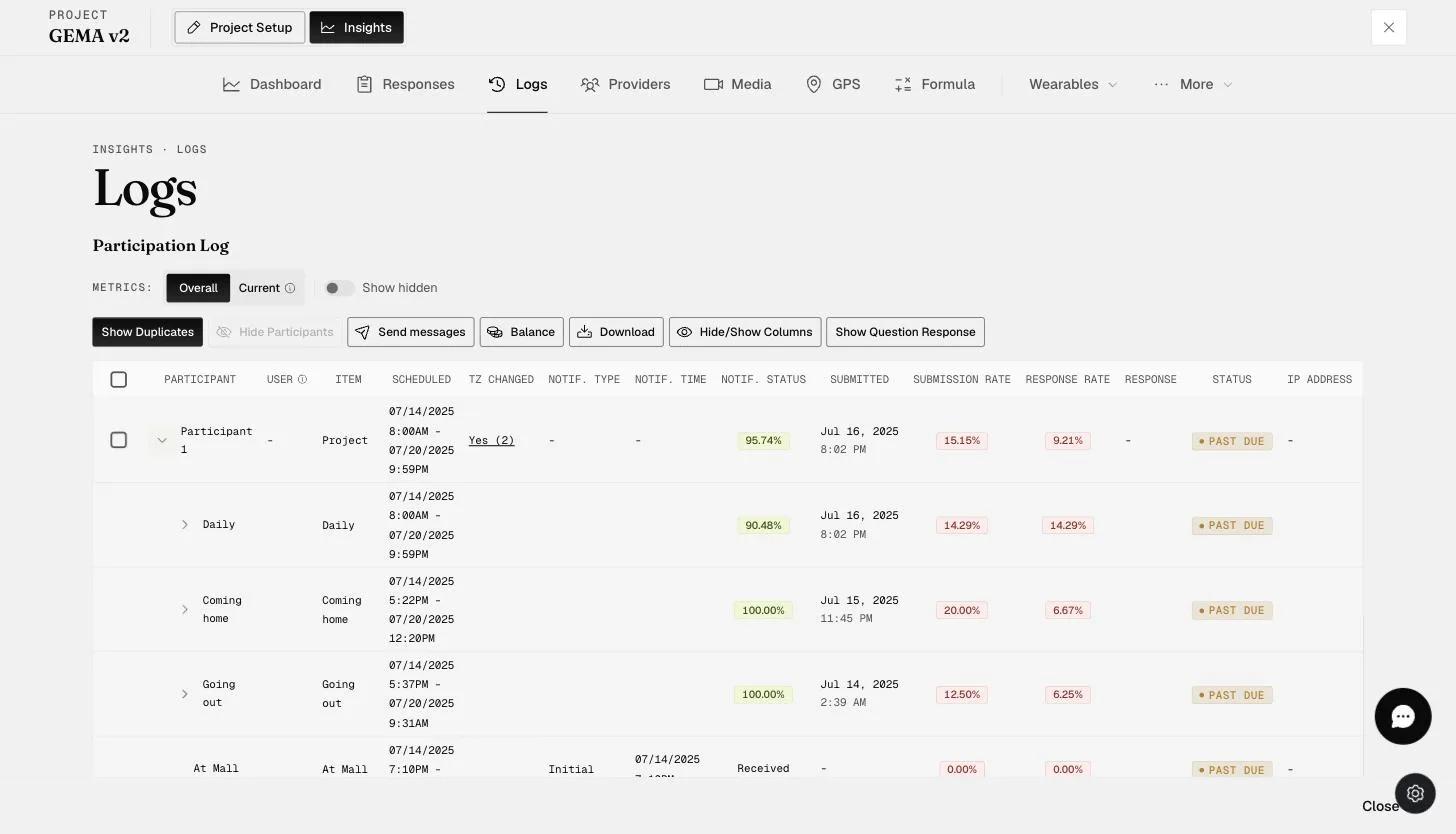
You will need to drill down to view specific surveys.
As shown below, you can now see the specific surveys in the "Project". Here, we have a "Daily", "Emotions survey", and "Daily Mood" survey.
Scheduled
This shows when the project and surveys are scheduled.
This column is very useful to examine when you have a "Rolling Schedule" and each participant may be starting at different dates. It is also very useful when you have "Randomized" survey schedules such that participants do not receive surveys at the same time each day. You can determine when the survey is scheduled for each participant and for each specific day, which will vary.
As shown below, drilling down shows the unique survey schedule for each participant.
Timezone Changed
This indicates whether the participant experienced a time zone change during the study period and shows how many times it occurred.
In the example below, Participant 1 experienced a time zone change twice.
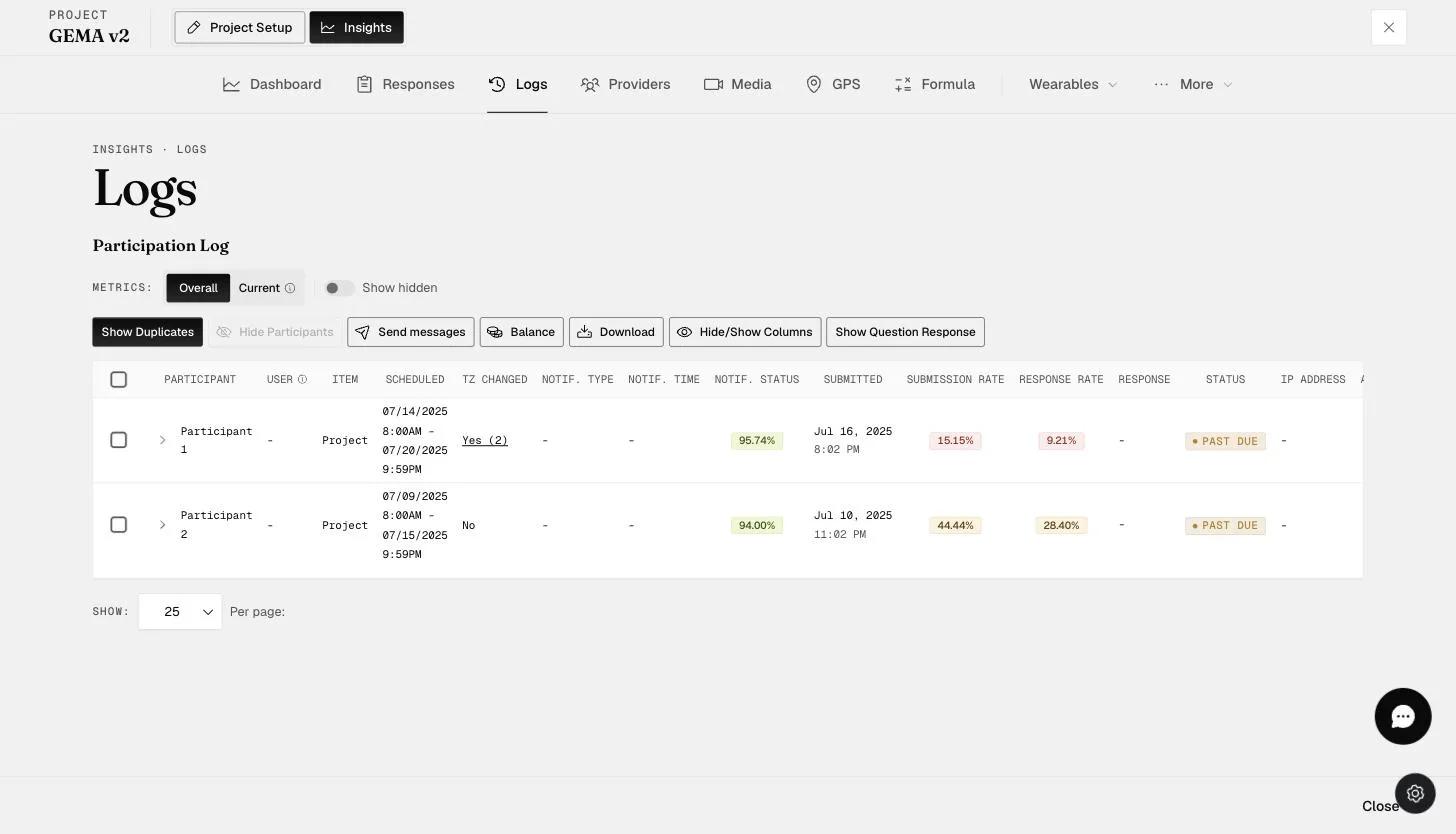
Clicking on 'Yes' under the 'Timezone Changed' column will display details of the time zone change.
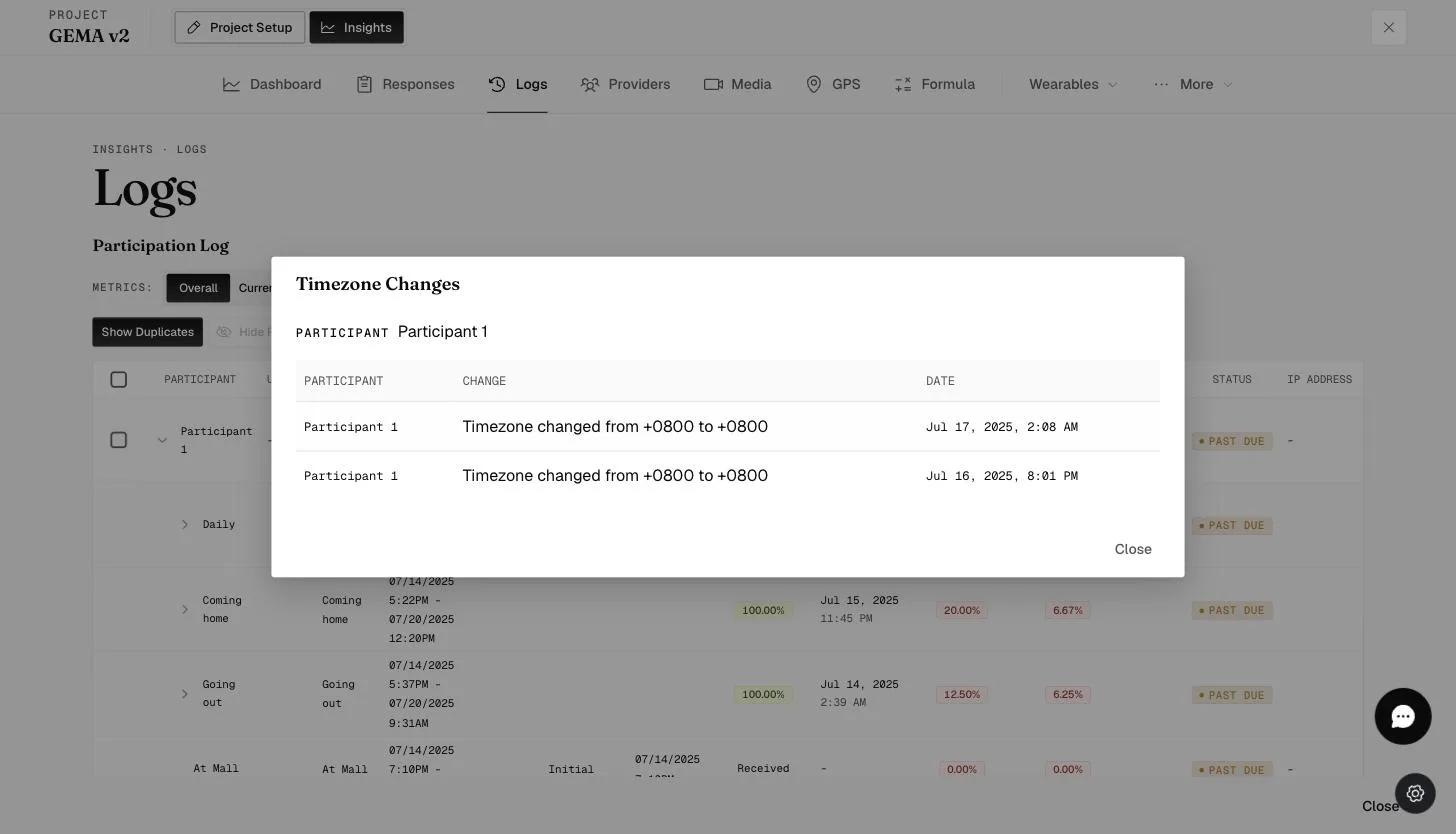
The example below shows that Participant 1 experienced time zone changes twice on their mobile device while traveling on December 4th and 5th, 2024.
If a survey is submitted outside the scheduled time slot, the participant may have experienced a time zone change midway through the survey. This change could result in the survey being submitted outside the designated window.
Notifications and Reminders
ExpiWell uses push notifications to participants' devices to let them know when to take scheduled surveys. You can track if notifications are being sent to participants through the Logs.
Notif. Type: Whether the notification is the first "initial" notification or the later "reminder" notification.
Notif. Time: The time the notification was sent to the participant.
Notif. Status: Whether the notification was 'not sent' or 'received'. 'Not sent' may mean that the participant only added the project after the first survey was scheduled for the day (as indicated by a small red icon next to it), or the participant may have retaken the survey using the personalizer functionality so no notification was sent.
As shown below, you can also change to view initial or reminder notification times.
Submission and Response Rates
You can track real-time participant submissions, submission rates, and response rates.
If a participant is actively engaged in a survey when the closing time arrives, the system will automatically submit their responses. The submission time for these auto-submitted surveys will be marked with a red icon.
In rare cases, usually due to connectivity issues, the recorded submission time may be after the official closing window.
It's important to note that submission rates are solely determined by when participants manually submit their surveys, rather than auto-submission.
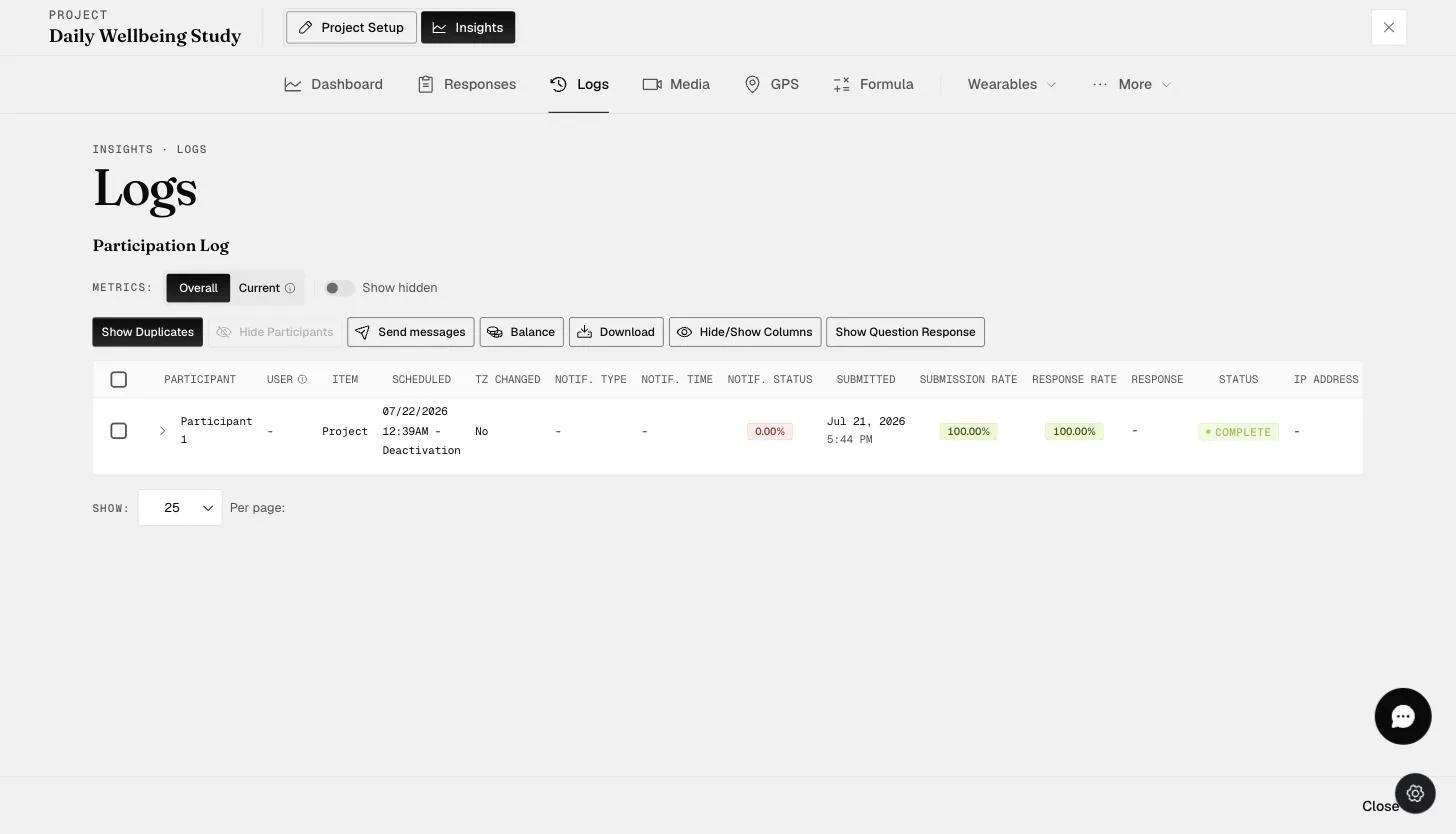
Submitted
This shows when the participant last submitted a survey. This is useful to check when participants were last active.
Submission Rate
This tracks the rates of submitting surveys. 9 out of 10 survey submissions will translate to a 90% submission rate.
Response Rate
This tracks the rates of responses within surveys. 9 out of 10 questions answered will translate to a 90% response rate.
Overall and Current
By toggling between "Overall" and "Current," values change for "Submission Rate" and "Response Rate".
Overall: when you are interested in participant responses with respect to all the surveys scheduled, from start to finish.
Current: when you are interested in participant responses up to the current time. This is very useful for monitoring as data are coming in.
Status
This indicates whether a Project or Set of Surveys is 'Added' if it is pending scheduled submissions or 'In Progress' if it is ongoing. If the study period is over, the Project or Set of Surveys may be marked as 'Complete' for a fully submitted set of surveys or 'Past Due' if some surveys were missed. Individual surveys will also be marked as 'Scheduled' if they are upcoming, 'Complete' if submitted, or 'Past Due' if missed.
IP Address
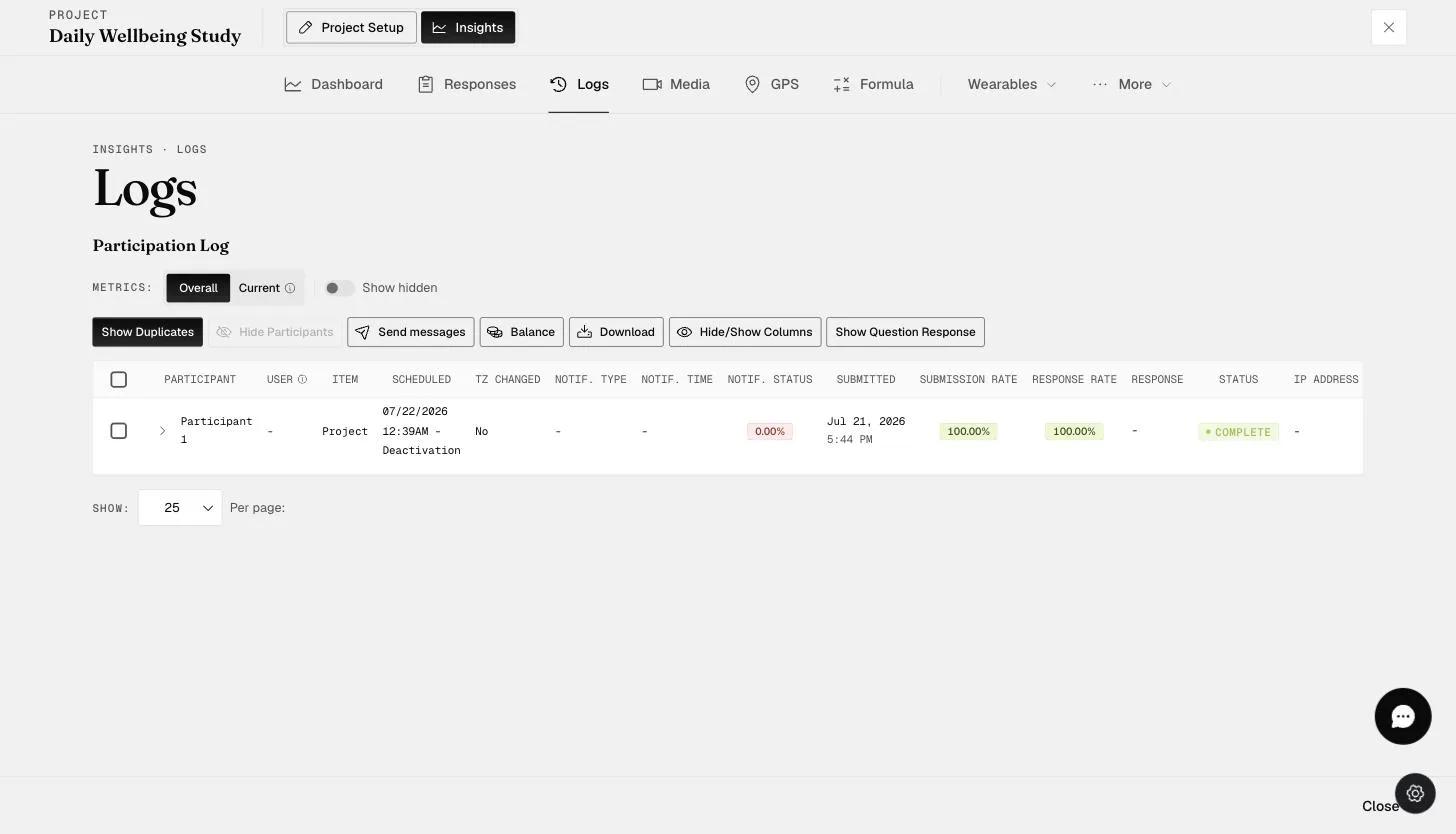
Apple Watch / Fitbit Data Range
This section shows the date range of Apple Watch and Fitbit parameter data collected for participants. Specific parameters can be selected from the dropdown list at the top of the Logs page.
Please note that the date range reflects the first and most recent instances of data retrieval from the participant’s HealthKit or Fitbit account, but gaps in data may still exist. To ensure the APIs pull the most up-to-date information, participants should sync their devices with their apps before accessing the ExpiWell platform.
Apple Watch Data Range
In this example, Participant 1's Apple Watch Step Count data has been collected from February 23rd to March 9th, 2025.
The Apple Watch parameters can be selected from the dropdown list, as shown below.
Fitbit Data Range
In this example, Participant 1's Fitbit Heart Rate Time Series data has been collected from March 23rd to April 3rd, 2025.
The Fitbit parameters can be selected from the dropdown list, as shown below.
Active
This indicates whether a participant's status is active in the project.
-
A 'green tick' appears when the participant has joined the project and is/was actively engaging with it.
-
A 'red x' with the associated date and time appears in the following cases: the participant has removed the project, deleted their account, or was invited by email but later removed by the researcher. The displayed date and time indicate when any of these actions occurred.
-
A 'blue x' appears when the researcher removes or blocks a participant from the project using the 'Remove Participant' feature under 'Options.' The associated date and time indicate when this action occurred.
Sending Additional Push Notifications
In EMA and ESM, it is often necessary to ping participants, especially those with a low submission or response rate.
Researchers can send additional push notifications to participants using two methods:
-
Send Messages Button: Allows you to send messages to multiple participants at once.
-
"Options" Individual Messages: Allows you to send messages to individual participants.
Send Messages
To send messages to multiple participants, you can click the "Send messages" button as shown below.
On clicking "Send messages," a pop-up will appear, and you can choose the participant(s) to send the message to. You can also decide whether to send the participants messages immediately or schedule a later time to send the message.
Upon successful sending or scheduling of notifications, a "Messages Successfully Scheduled" confirmation will be displayed at the top of the pop-up, which will then close. Message history for notifications sent to multiple participants is accessible within each individual participant's message history, as described in the following section.
"Options" Individual Messages
You can send individual messages by clicking on "Options" for a particular participant and then clicking "Send Message".
In the pop-up, you can type the message you want to send either now or schedule it for later.
Note that you can also view past messages sent to participants here.
Participant Payments
Our platform allows participants to be paid in two ways: individually or in bulk.
Individual Payments
You can compensate participants individually by going to "Options" and clicking on "View Payments".
Clicking this option will open a modal window where you can manage individual participant payments. Within this window, you can:
-
Process payments to the participant.
-
Send a message that is included with the payment.
-
Review the participant's payment history.
Bulk Payments
The Bulk Payments feature is activated by selecting participants from the Log entries.
-
Individual Selection: Check the boxes on the left (indicated by the red box in the example).
-
Select All: Check the master box at the top (indicated by the orange box).
After making your selections, the Bulk Payment feature will appear at the top of the Logs (highlighted in green). To proceed, click 'Pay Selected'.
A modal window will appear, allowing you to manage the bulk payments for participants. Here, you can input the payment amount, include an accompanying message, review the total cost of the bulk payment, and see the remaining balance after the payment is made.
Note: If the system detects you have insufficient funds during the bulk payment process, simply click the link (shown in the orange box) to add more funds immediately.
Remove or Block Participant
You can remove or block participants by clicking "Options" and "Remove Participant". This feature allows you to manage participants out of the project, ensuring only eligible individuals remain by removing or blocking those who are ineligible.
A pop-up will appear asking you to confirm if you want to remove the participant. If confirmed, the participant will lose access to the current project.
If you click 'Yes', another pop-up will appear, offering the option to block the participant in addition to removing them. Blocking the participant ensures they cannot rejoin the project.
Once the participant has been removed or blocked, a 'blue x' with the associated date and time this action occurred will appear under the 'Active' column.
Show Duplicates
This displays participants who may have joined the project multiple times and indicates when they did so.
Here, you can see that Participant 1 joined this project multiple times.
Hide Participants
This feature allows you to hide certain participants on the 'Logs' page by selecting the participant you wish to hide and clicking on the 'Hide Participants' button. A confirmation pop-up will then appear.
This may be helpful if some participants decide to drop out of the project and you do not wish to continue monitoring their progress.
In this example, after you click 'Yes', the 'Logs' Page will only show Participant 2 since Participant 1 is hidden.
You can still view hidden participants by turning on the 'Show hidden' toggle. For example, Participant 1, who was previously hidden, will now be visible on this page.
You can add the hidden Participant 1 back to the main 'Logs' Page by clicking on the participant, selecting the 'Show participants' button, and confirming your selection in the pop-up window.
Balance
This feature allows you to check the remaining funds available to pay your participants and review the payments made in this project.
Hide/Show Columns
This feature enables you to customize the visibility of columns on the Logs page, making it easier to view relevant data.
By default, all columns are displayed. To customize your view, select the columns you wish to display from the dropdown list, highlighted in the orange box.
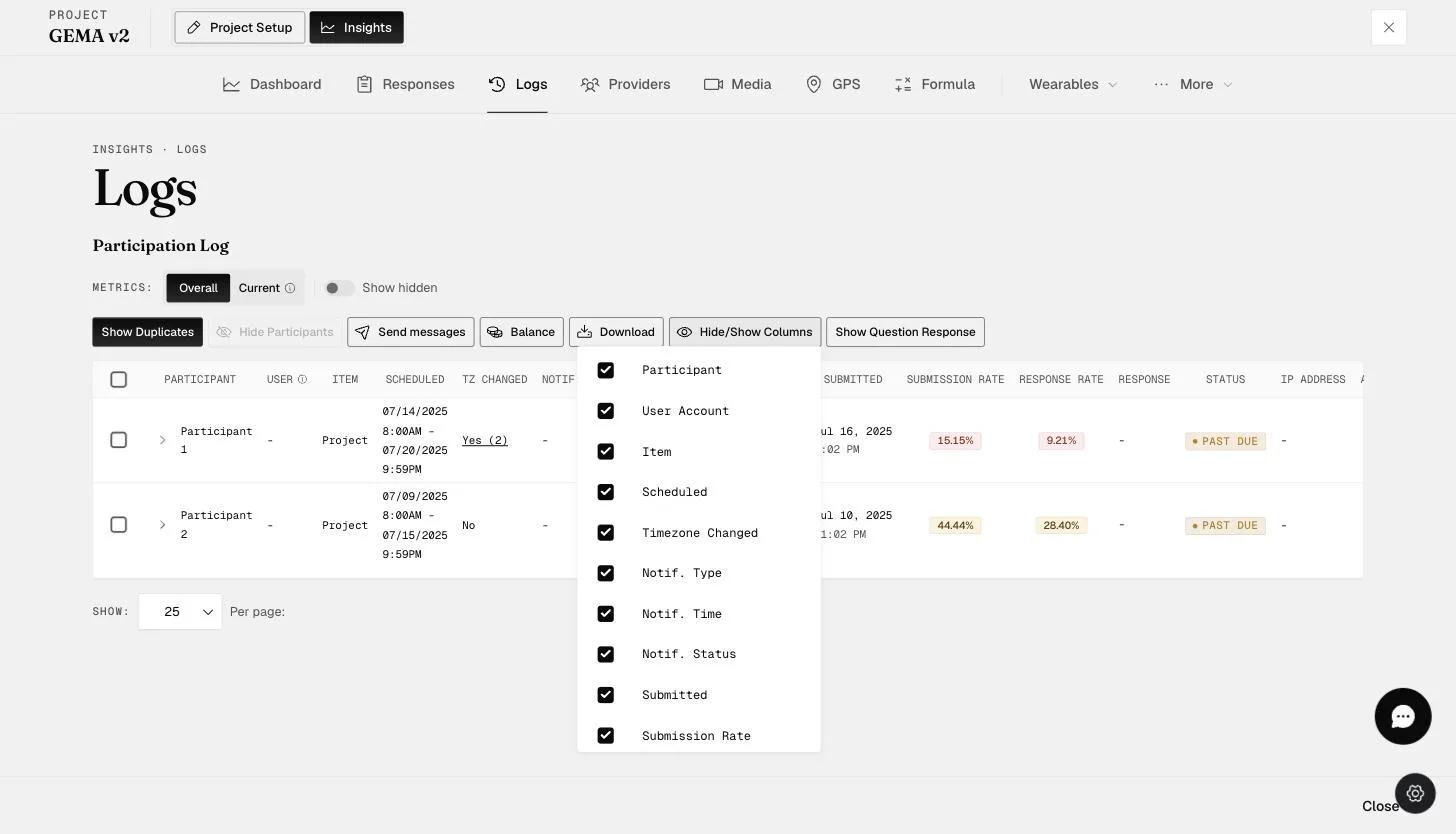
Any columns not selected will be hidden, as demonstrated in the example below.
Download
You can download all of the log data in a CSV file by clicking on the 'Download' button. This is very helpful for keeping a record of participant submission and response rates, notifications, and payment amounts.
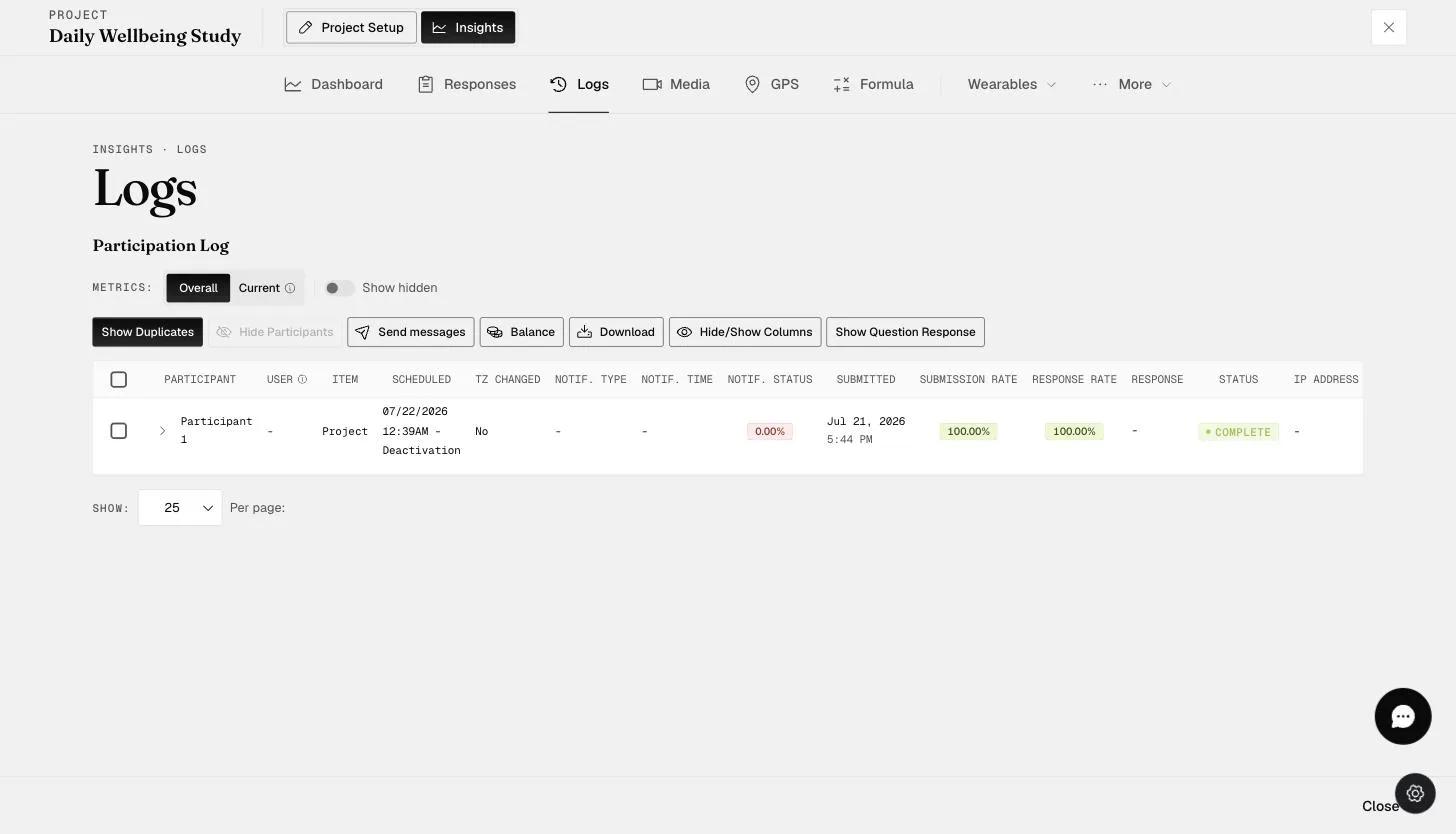
The CSV file can be downloaded with the Unix timestamp or in local time
Here's an example of a CSV file with the participants' log data in local time.
Show Individual Question Responses
You can show individual question responses in the participant log. This allows you to note what responses individuals provide.
-
Showing participant ID information. You may need to determine if someone you invited has joined the project. Or, showing the participant that may not be responding. This requires you to ask identifying information in your survey question(s).
-
Showing responses on critical questions. You may need to see if participants responded to an important question, or what their response is to a question.
To do this, click on 'Show Question Response'.
You can then choose the question you want to show from your surveys. If participants responded, it will appear in the response column.
Additionally, if the survey was scheduled multiple times, you can click on the grey icon in the response column to see all the responses to the selected survey and question.
Note that you will not be able to see the following types of questions and question responses:
-
Instruction: Response will be empty.
-
Media: Response will be empty.
-
Grid: Response will be empty.
'Take One-Off Experience' Participants
If anonymous users answered your survey using the "Take One-Off Experience", you can identify them in the CSV file downloaded from the Insights 'Responses' Tab. This information isn't visible in the 'Logs' tab but can be found in the downloaded response file as shown below.
You can see the records of anonymous users' responses, including details like IP address, time zone, and survey start and finish dates.
Screener Participants
For projects with a screener survey, participants who failed the screener before the end of April 2025 will be marked as 'Failed Screener' under the Logs status column, as shown below.
Starting from the end of April 2025, only participants who pass the screener will appear in the Logs. This change is designed to streamline the management of participants who have successfully passed the screener and are eligible for the study. Data for participants who fail the screener will still be included in the response files for the screener survey.
In the example below, Participant 1 did not pass the screener. Consequently, the first participant appearing in the Logs is Participant 2, who successfully passed the screener.
This walkthrough was recorded in the earlier ExpiWell interface — an updated video for the new dashboard is coming.