Event-triggering for EMA & ESM
The Role of Event-Triggering for EMA and ESM
When you create your ecological momentary assessment (EMA) and experience sampling method (ESM) project, you may want to change the study parameters (e.g., survey timings, additional messages to be sent, or changes to surveys) based on how participants respond. In other words, the study and surveys can change based on participant behavior.
Event-Triggering Features and Applications
Event-triggering enables researchers to have one participant action prompt the change, addition, or subtraction of another action in the study. On our platform, an event can be prompted by:
-
A survey (response) submission
-
A schedule change via the personalizer
-
A participant exiting the survey
Event triggering is available for both Rolling and Calendar schedules.
Here are some examples of event-triggering applications:
Example 1: When a participant completes a morning survey, an afternoon survey is triggered to be sent exactly 4 hours later.
Example 2: A participant selects a survey response that she did not eat breakfast this morning. Thus, the follow-up survey set for an hour later (on what she ate for breakfast) is removed from the schedule as it is no longer relevant.
Example 3: When a participant completes the baseline survey, an extra notification is triggered to confirm their submission and welcome them to the study.
Setting up Event-Triggering
Step 1. In the Survey Builder, enter all surveys, including any you want to trigger. Then, proceed to the Schedule step.
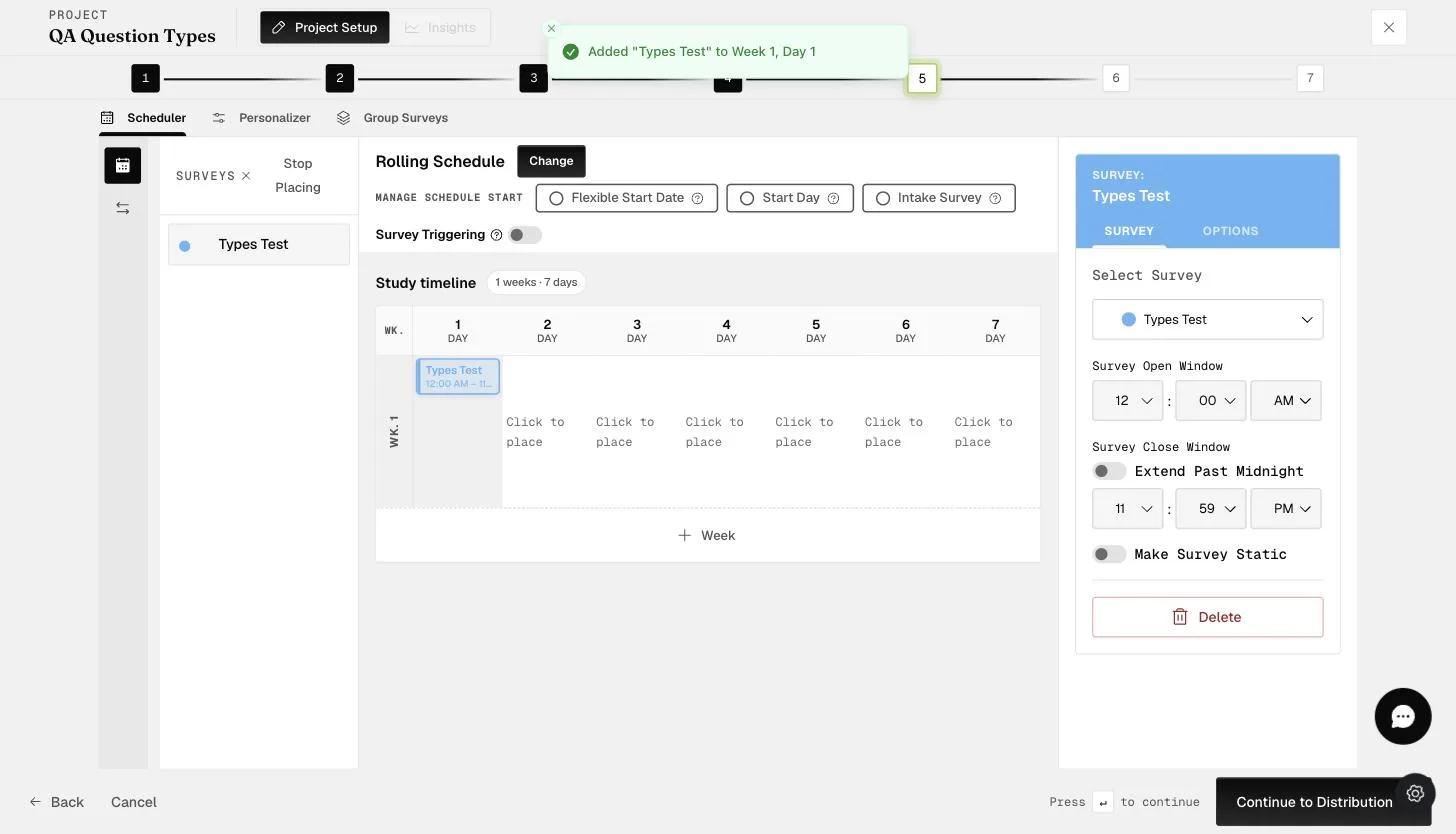
Step 2. Create the basic schedule (i.e., the schedule that will serve as the base for the event-triggering actions). The example below shows that the basic schedule is the Rolling schedule, with a "Daily" survey scheduled every morning from 9 a.m. to 12 p.m.
Step 3. On the vertical bar on the left of the schedule, select the icon second from the top as seen below. This icon will take you to the event triggering options. Select the top icon at any time to go back to the basic schedule.
The following shows the home page for event triggering.
Step 4. To add a series of actions, select “Create Event.” A pop-up will appear in which you may enter the event name and the type of action. As can be seen below, an event can be triggered based on (1) Survey Submission (i.e., when the participant sends a specific survey response); (2) Schedule Edit (i.e., when the participant changes the schedule of their surveys); (3) Exiting Survey (i.e., when the participant exits a survey).
Step 5. The setup for a new series will be divided into three main sections: the primary event, the conditions, and the resulting triggered action.
- The primary event is a "Survey Response" to the “Daily” survey. In other words, we want to monitor what a participant responds in the "Daily" survey in order to trigger the next steps.
- We are creating a "Condition" to trigger the action. This creates the specific conditions within the survey to trigger the action.
The specific condition occurs when the participant selects the response choice "Angry" to the Question "How are you feeling now?" as shown below.
After the specific condition is set, you can create the task that will be triggered. Note that you can create multiple tasks. In other words, when a participant responds in a particular way, you can create triggers for multiple actions, like scheduling new surveys, deleting surveys, and sending new notifications.
This will pull up the pop-up modal where you can choose to:
a. "Adjust Schedule" (i.e., add surveys to their schedule, edit current scheduled surveys, or even delete scheduled surveys). The schedule adjustment provides the most flexibility to the project as it allows you to add windows to the participant’s schedule based on a submission. It also allows for the removal of windows if the participant responds in a particular way. For projects that have surveys scheduled based on daily rhythms (e.g., a participant's bedtime), the edit action allows the researcher to move other surveys based on the participant’s new bedtime.
b. "Schedule Notification" (i.e., create new push notifications to send participants). Additional notifications can be triggered to send a custom message. This allows for custom reminders when a participant leaves a survey without completion or submission confirmations for completed surveys.
c. "Send Email" (i.e., schedule an email to be sent out to an email address of choice based on your participant's response to a question or submission of the survey)
d. "Exit Survey" (i.e., the participant is taken out of the survey).
As noted above, you can create multiple "triggers" or "tasks" that will occur based on a single condition. This is very helpful when you want to schedule multiple different surveys based on one event.
- In our example, we choose the task of "Adjust Schedule". We choose the triggered survey (here the name of the survey is "Daily Mood"). Note that this survey has to be created in your normal survey creation tab. We then select the relevant options and parameters for when the survey window will occur.
Step 6. After setting up all event-triggering series, select the top icon from the vertical menu on the left. Review the basic schedule (note: no changes will be seen here) and proceed to the Distribution and Review steps to complete the project setup.
Mobile View of Triggered Surveys
Example 1: In the above example setup, the "Daily Mood" survey will be triggered if the participant chooses "Angry" for the question "How are you feeling now?" on the "Daily" survey. Initially, the participants will only see the scheduled "Daily" surveys when they enter the project. If the former condition is met, the "Daily Mood" survey will be triggered precisely four hours after the "Daily" survey is completed, as shown below.
Participant's schedule before and after the triggered survey is added
Example 2: Another event set up for the above project will trigger the "Emotions survey" if the participant chooses "Sad" for the question "How are you feeling now?" on the "Daily" survey. In this example, the survey window is set using the "Custom Day" option and will be triggered daily from 2 days until 5 days after the former condition is met, as shown below.
Initially, the participants will only see the scheduled "Daily" surveys when they enter the project. Once the former condition is met for Day 1's "Daily" survey, the "Emotions survey" will be triggered daily from 12 a.m. to 11:59 p.m. on Days 3 to 6, as shown below.
Participant's schedules before the triggered surveys are added
Participant's schedules after the triggered surveys are added
Setting up Event-Triggered Surveys based on Survey Submission Alone
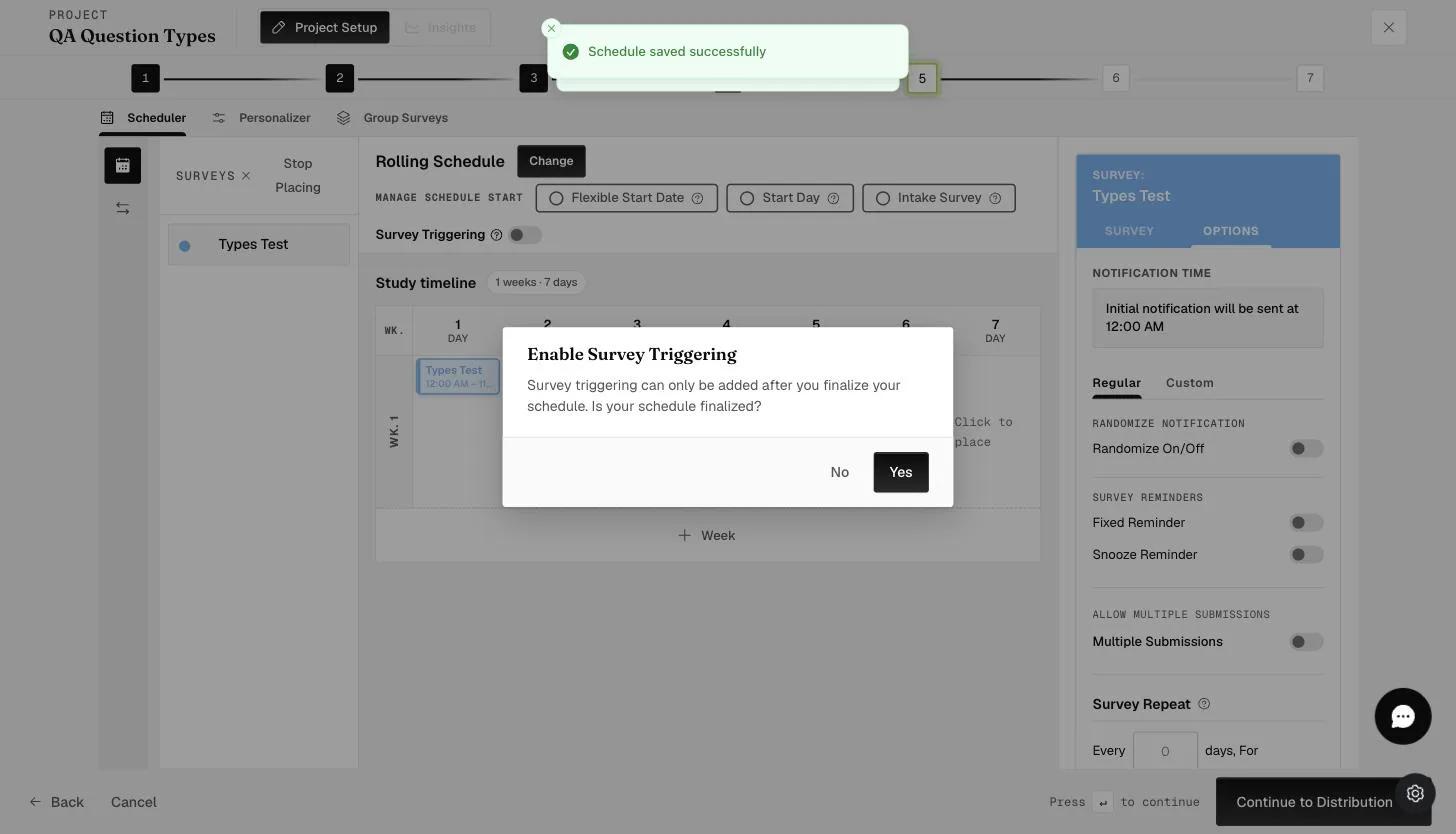
If you require another survey to be triggered based on survey submission alone (without requiring any specific response choices to be submitted) and the triggered survey timing is fixed at a certain time of the day, you can schedule this using 1) a method similar to the example setup mentioned in the above section (without specifying any conditions), or 2) directly on the 'Schedule' page, which will be described below.
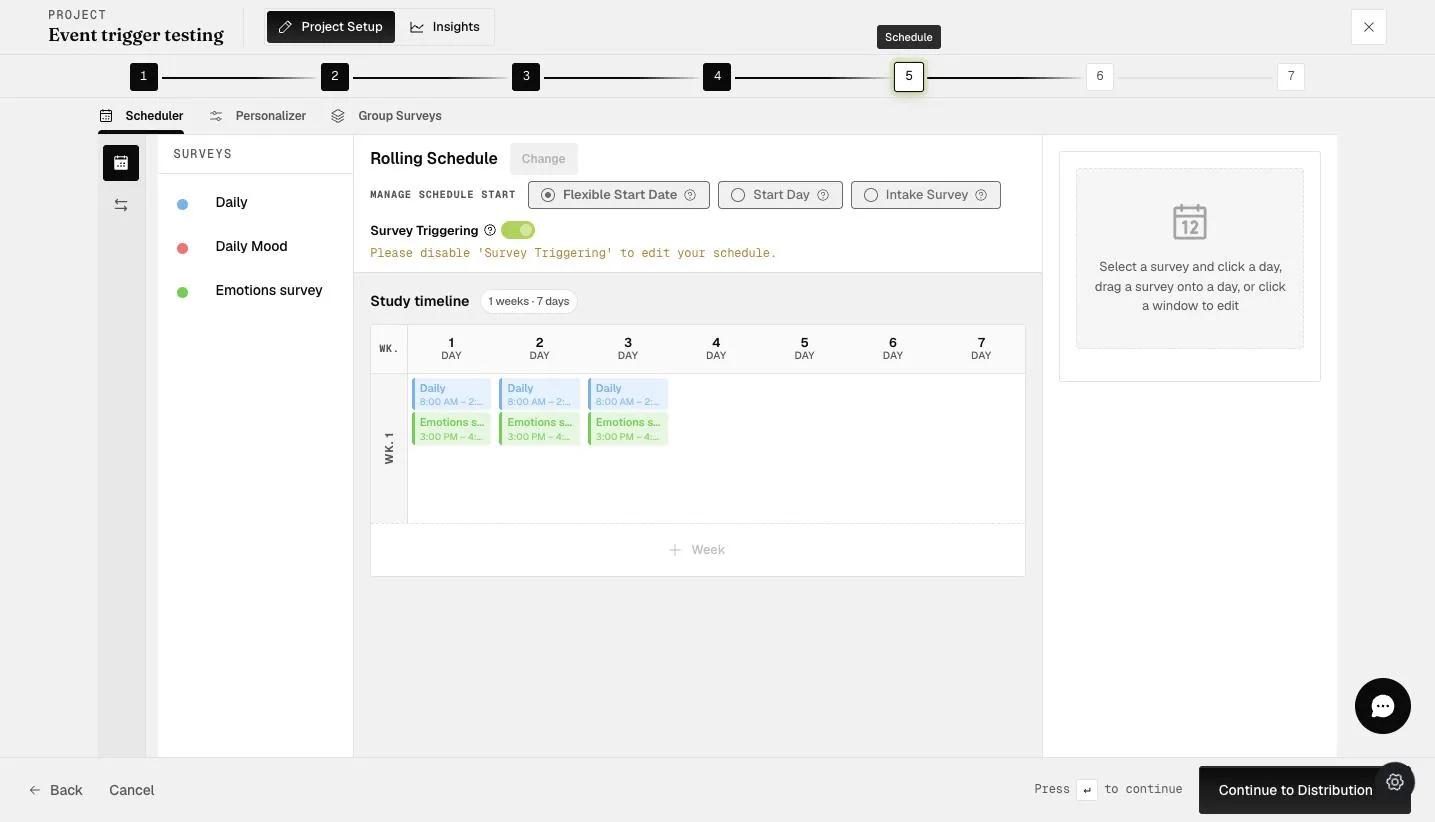
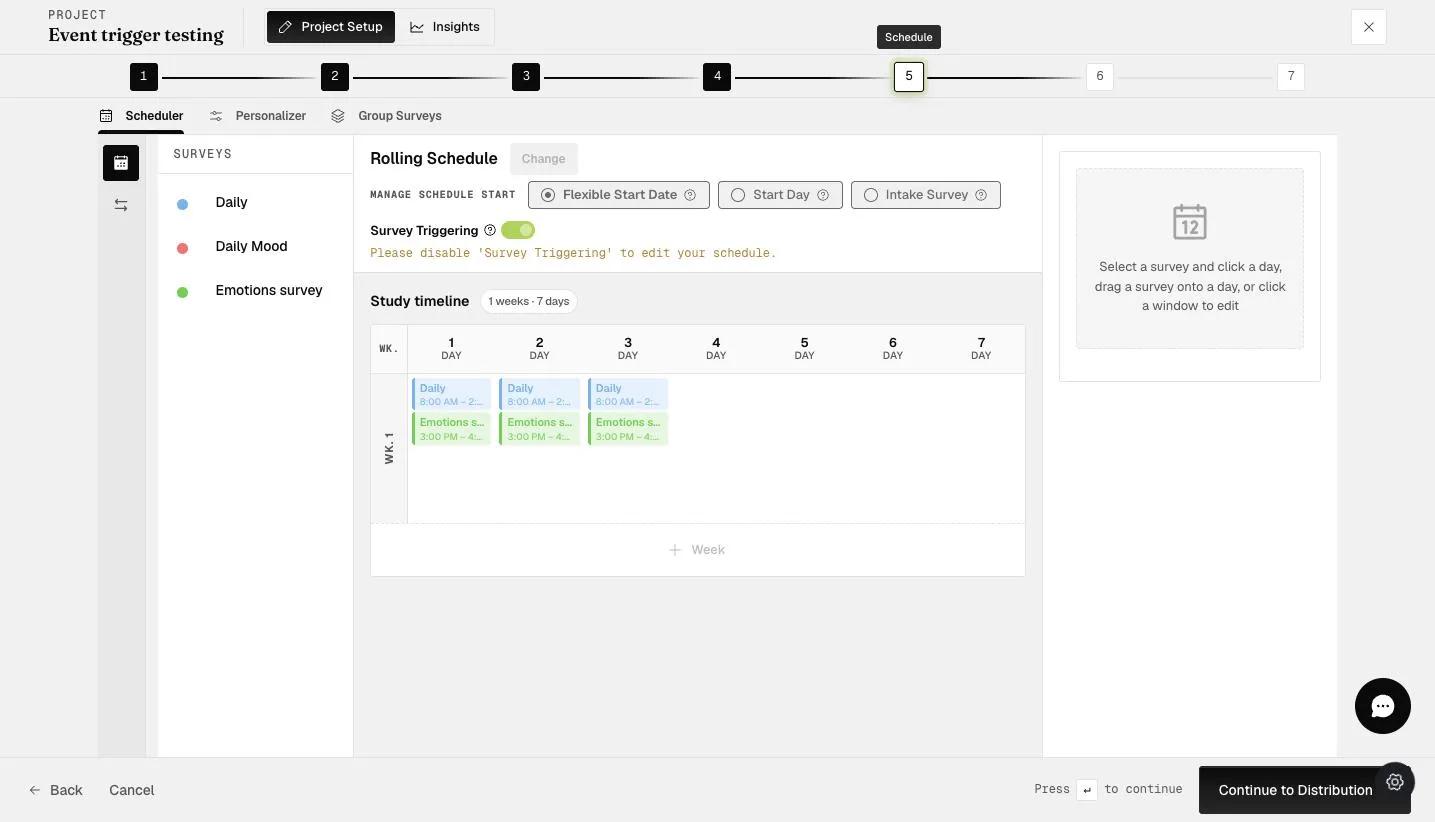
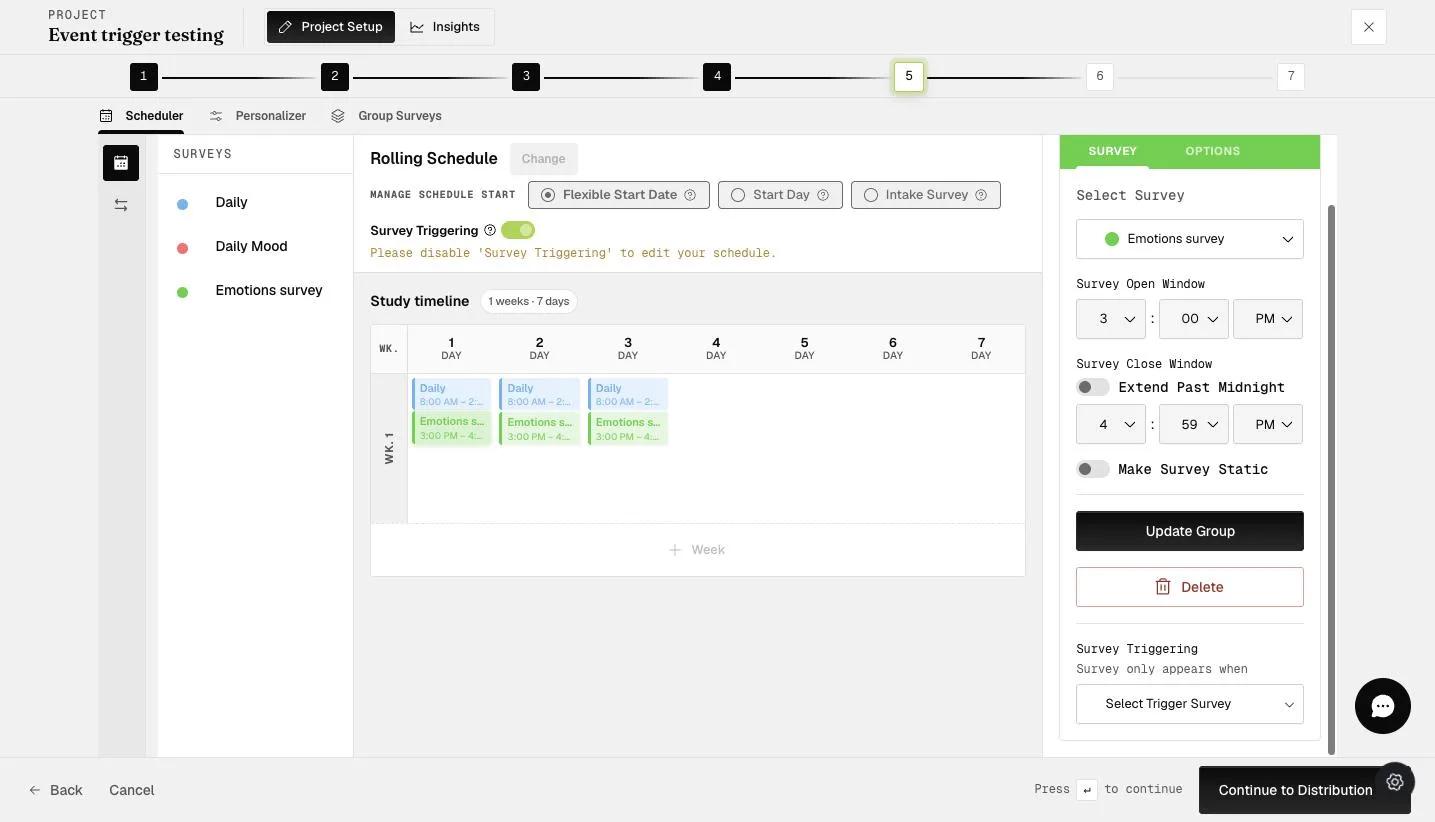
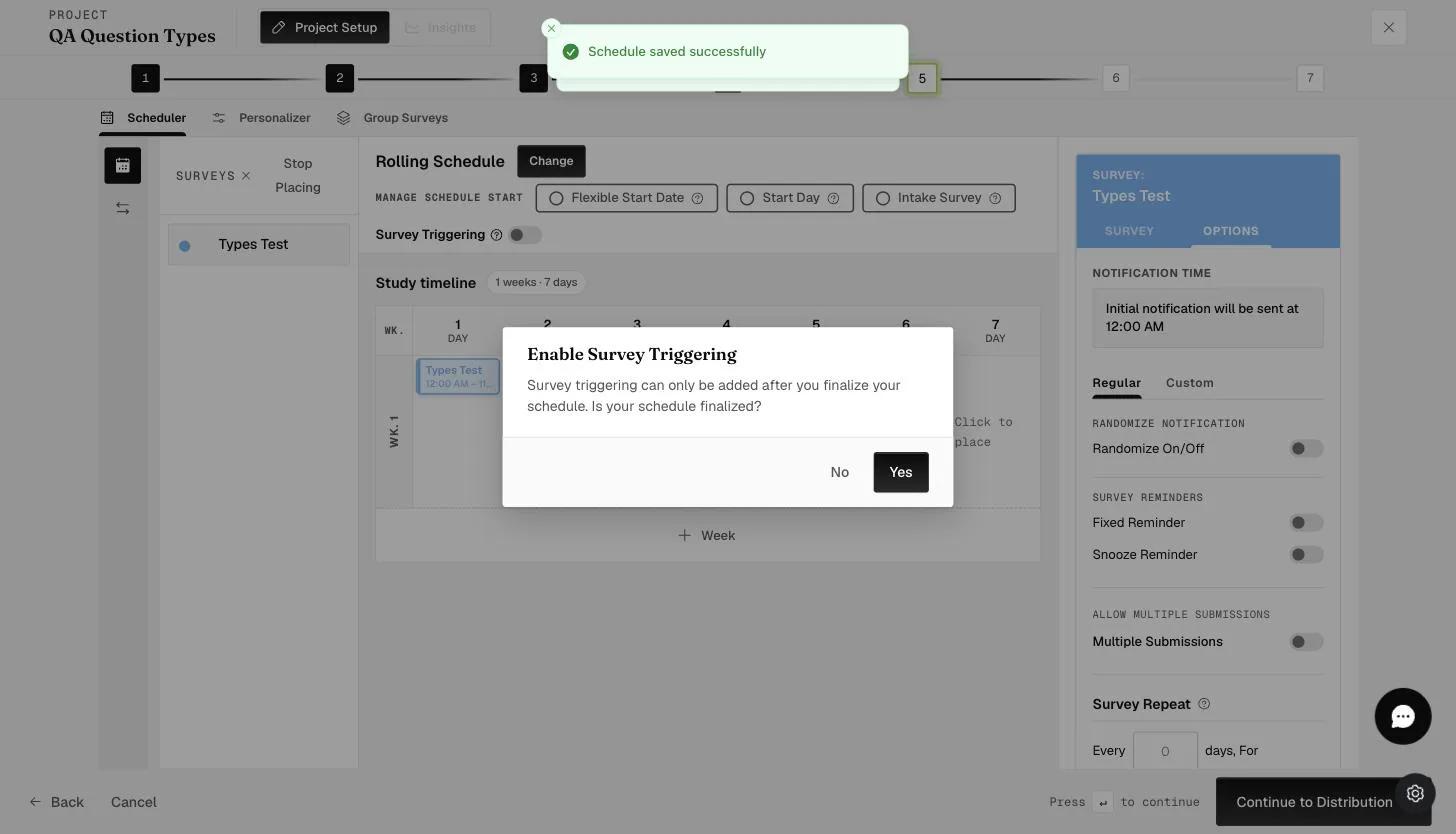
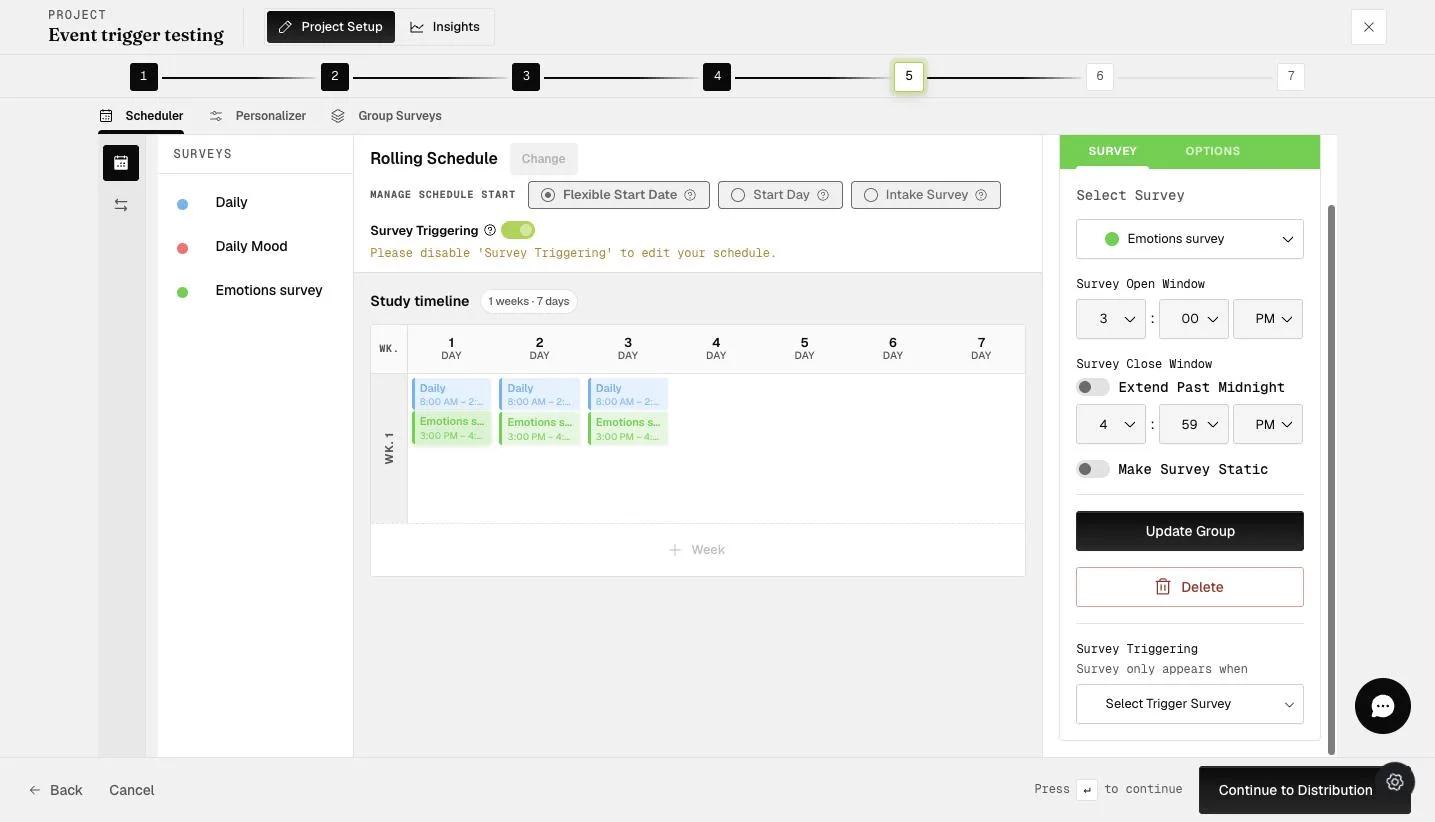
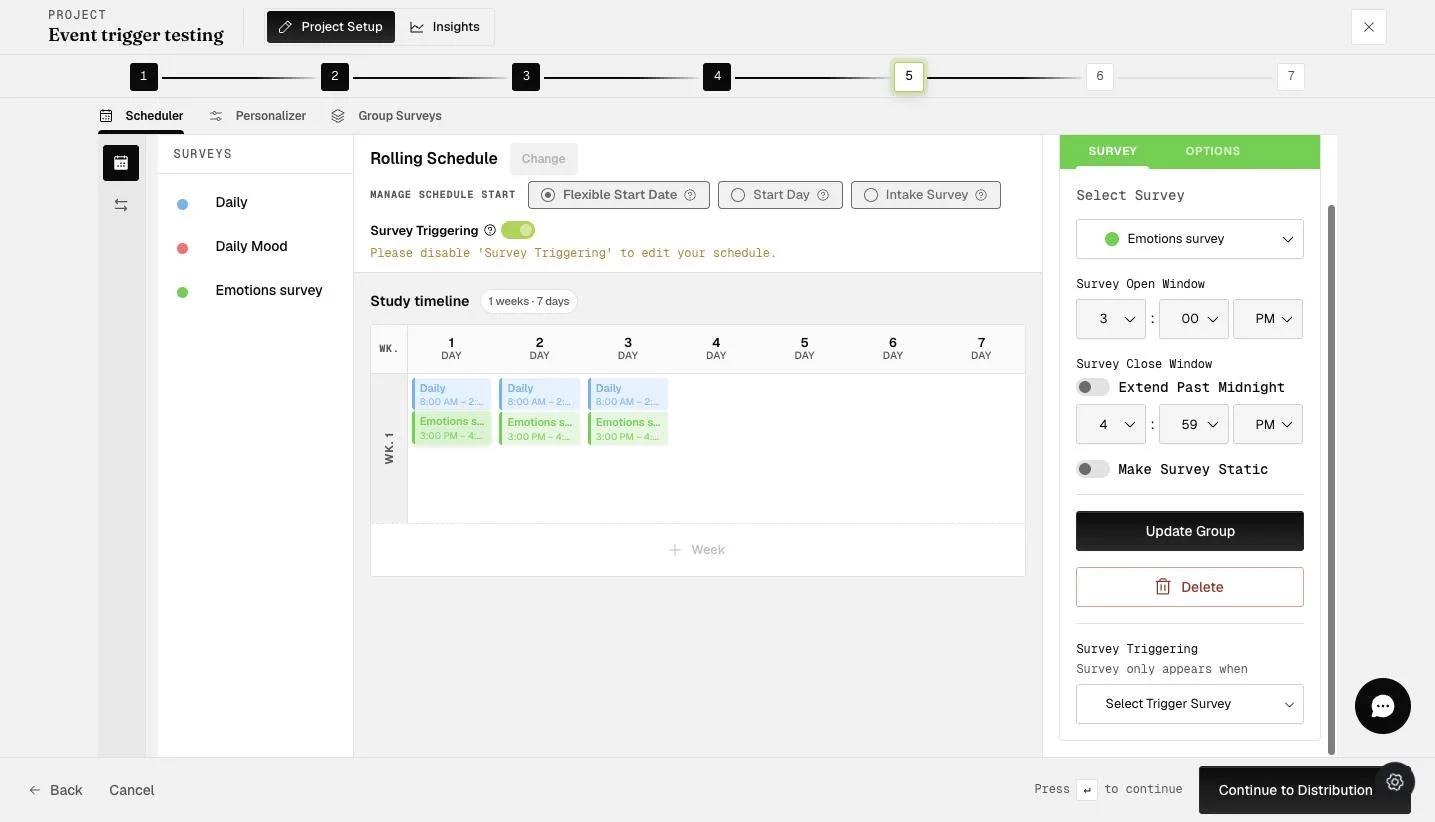
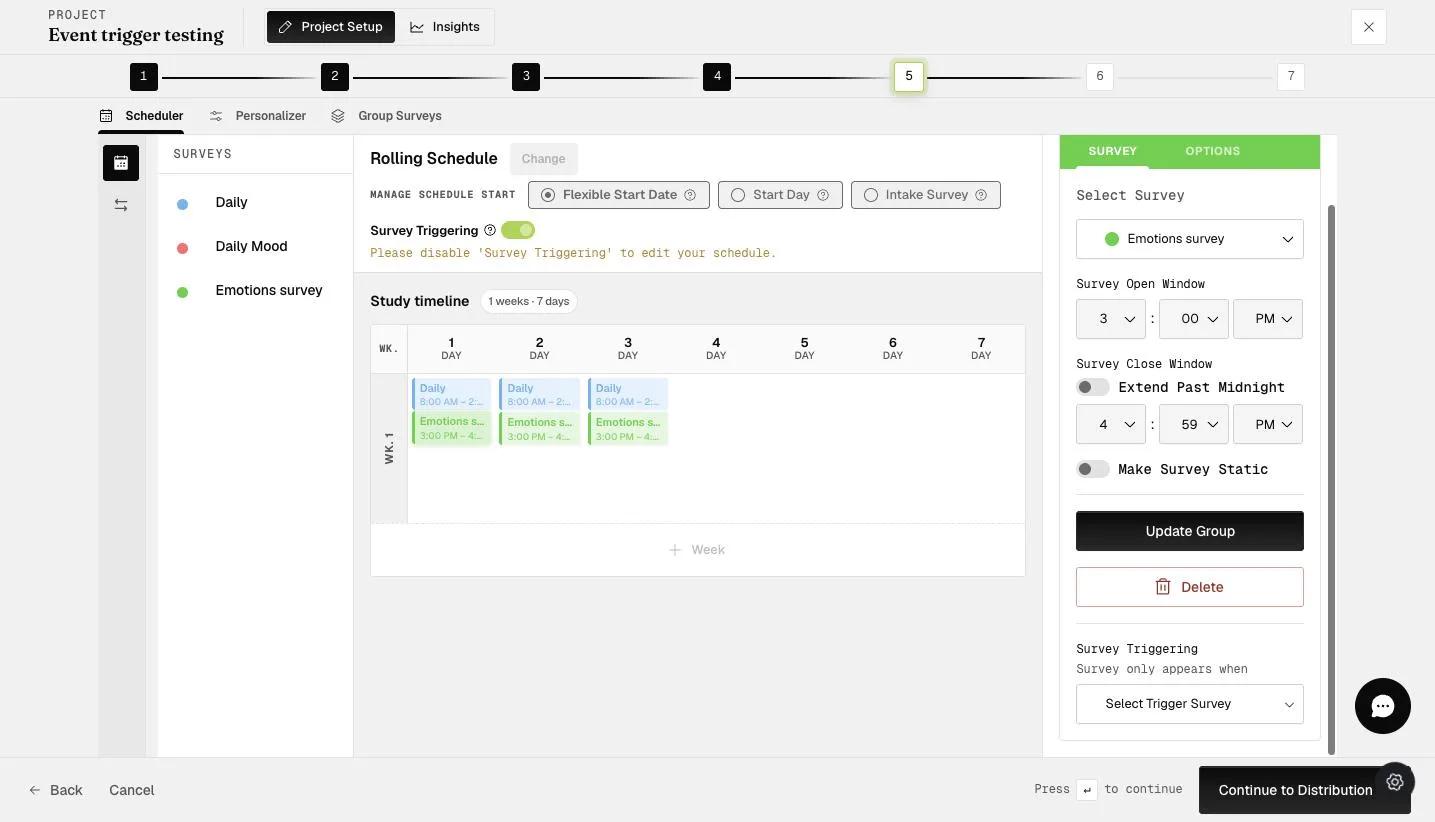
In the example below, the afternoon 'Pain' survey should only be triggered and displayed to participants after they have completed the morning survey. You can schedule both the morning and afternoon slots directly on the 'Schedule' page, as shown below, and toggle on the 'Enable Survey Triggering' button, as shown by the red arrow below. Once this function is enabled, the 'Survey Triggering' section on the right side, indicated by the red box, will be displayed.
You can select the survey you intend to trigger (in this case, it will be the afternoon survey for Day 1) and choose which survey needs to be completed before this one appears. As shown in the example screenshot below, this afternoon survey will only appear after participants complete the Day 1 morning 'Pain' survey.
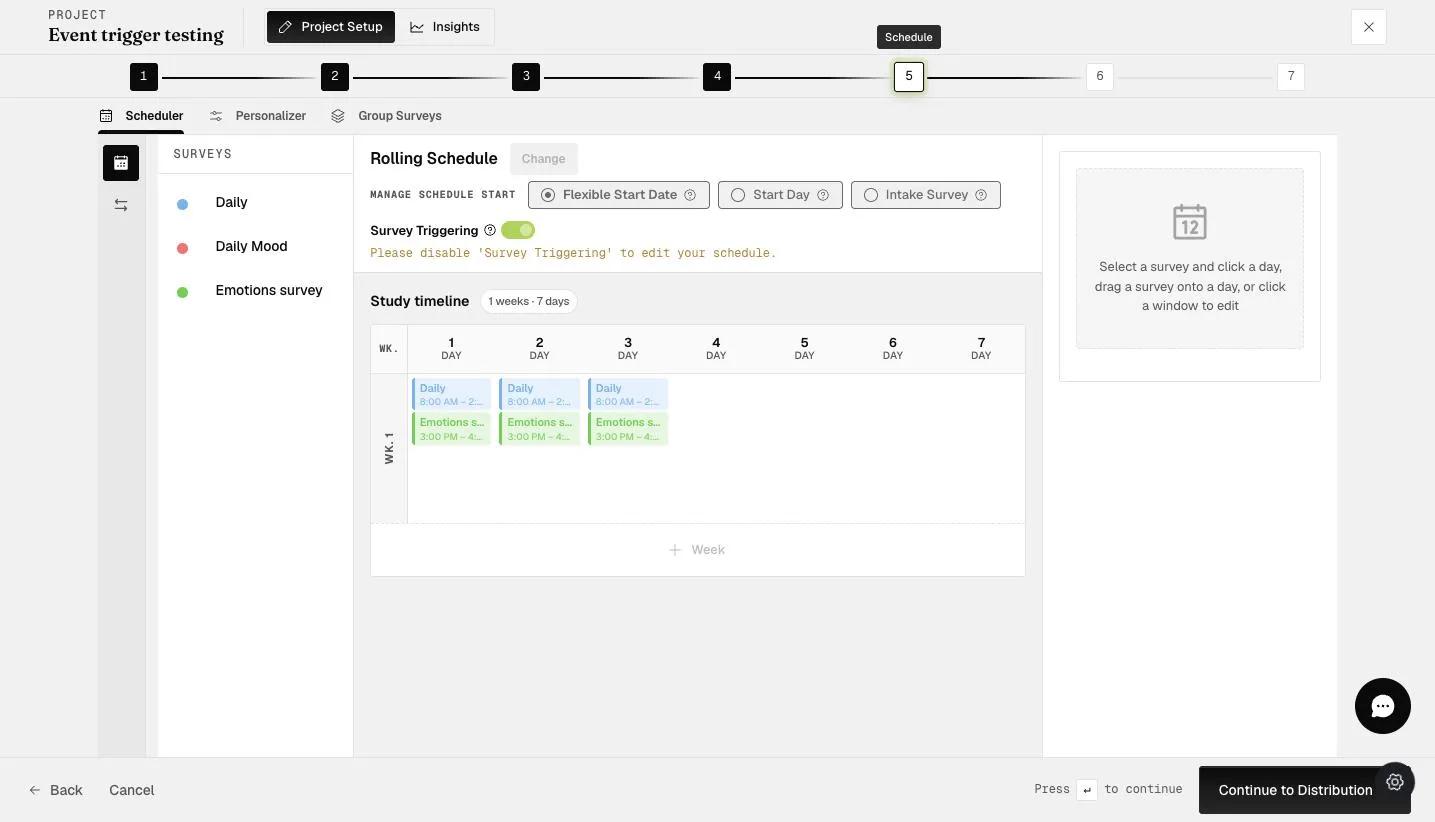
This can be applied to the rest of the afternoon surveys, as shown below, by selecting the respective morning surveys for the day.
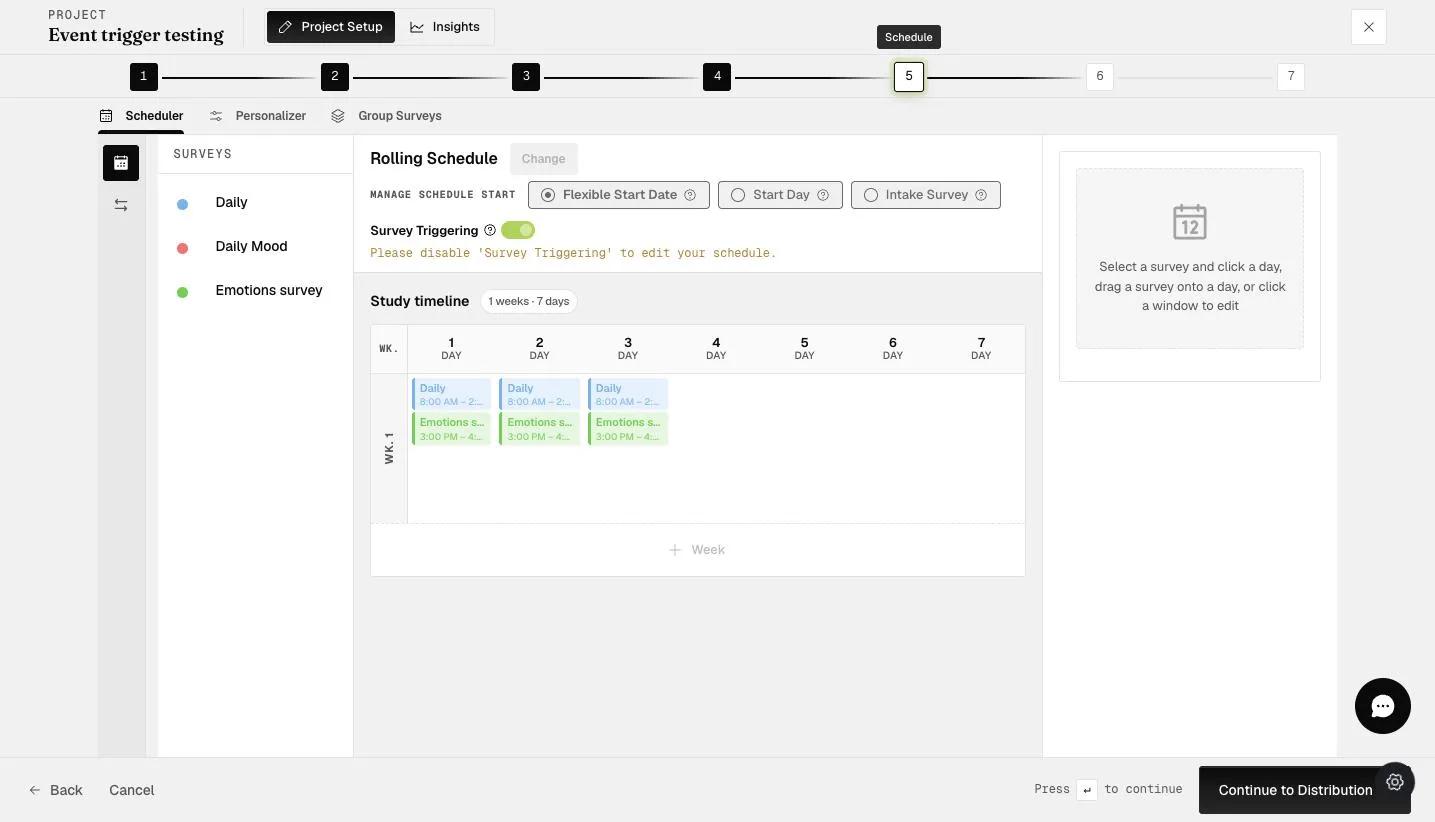
Note: This functionality can be used for different surveys and across days. For example, in the screenshot below, Day 3's 'Daily' survey will only appear if Day 2's 'Emotions survey' is completed. This is particularly helpful if you have multiple surveys triggered by previous survey submissions, and you can have an overview of them on the 'Schedule' page.
Scheduling Event-triggered Randomized Push Notifications
You can schedule randomized event-triggered push notifications to allow for diversity in messaging. This can be helpful for surveys repeated over a more extended period of time, as diversity in messaging can reduce survey fatigue and participant attrition rate.
To set this up, navigate to the event triggering function and create a 'Survey Submission' event by following Steps 1 to 5 in the above subsection, 'Setting up Event-Triggering'. Configure your conditions and add 'Task' as shown below.
Click 'Schedule Notification'.
A pop-up modal will open, as shown below.
Input the required messages to be randomized and schedule when the notifications should be sent. In the example below, if the required conditions are met, any one of the five messages will be sent randomly without replacement after 5 minutes.
If you require the system to draw the randomized messages with replacement, toggle the 'Randomize with replacement' button, as shown below. After which, click 'Done' and proceed with the rest of the project setup steps.
Scheduling an Email Notification after a Condition is Met
You can schedule a notification to be sent to whatever email address you assigned based on your participant's response to a question. One example of when this feature would be helpful is if your research participants are exhibiting signs of self-harm or suicidal behavior.
Here are some reasons why it could be helpful:
-
Duty of Care
-
Ethical Obligations
-
Intervention and Support
-
Legal Liability
To set this up, navigate to the event triggering function and choose 'Survey Submission'.
Proceed to configure your conditions.
Once the condition setup is complete, proceed to trigger a 'task' and select the 'Send Email' option.
Enter the email address where the notification will be sent.
Participant responding to the survey
When a participant responds to the survey and meets the condition you set, an email notification will be sent to your specified email address.
Triggering Multiple Surveys within a Certain Period of Time
The following provides information on how to set up a trigger that can trigger multiple surveys within a period of time. (e.g., 1 hour, 2 hours, 3 hours, etc.)
For eating disorder researchers, you may be interested in examining how an episode unfolds as it happens. For example, when someone is reporting that they are binge eating, you can immediately follow up with 5 surveys in the next 30 minutes.
Here is an example of how to set up a self-initiated drinking/eating episode for follow-up surveys: You can easily create triggers for 30 minutes, 60 minutes, etc., and set the follow-up surveys to follow that specific timing.
Just create your self-initiated survey where you ask the question of how long their episode is (this is displayed only if they want to initiate the survey). E.g., they could indicate 30 minutes, 60 minutes, 90 minutes, etc.
Create specific event triggers for different timing choices (i.e., 30 minutes, 60 minutes, 90 minutes).
This is an example of a 30-minute follow-up. For example, you have 5 surveys administered in a 30-minute window with 1-minute spacing in between. You would use the same format to create a 60-minute follow-up of 5 surveys, setting the start and end time to 1 minute and 61 minutes, and a 90-minute follow-up of 5 surveys, setting the start and end time to 1 minute and 91 minutes.
For alcohol researchers, you may be interested in assessing a drinking episode. For example, when someone says that they are in a drinking episode, you can immediately follow up with 5 drinking surveys within the next hour, and you can use this method too.
Triggering Surveys based on Date-Time Question
The following provides information on how to set up a trigger to automatically launch surveys based on a participant's response to a date-time question.
Before setting up your trigger, ensure your date-time question is configured correctly. It needs to have the appropriate response input type that allows for both date and time selections, as shown below.
To set this up, navigate to the event triggering function and create a 'Survey Submission' event by following Steps 1 to 4 in the above subsection, 'Setting up Event-Triggering'.
Select the survey for 'Survey Response' and then add 'Task'.
Select 'Adjust Schedule'.
Configure the 'Task' by filling out the following details, as shown in the example below:
-
Under 'Survey', select the survey you want to trigger.
-
For 'Adjustment Type', select 'Add Window'.
-
Under 'Window Add Day', choose 'Date & Time'.
-
Select the specific date-time question that will trigger the event under 'Select Question'.
-
Input the desired duration for the triggered survey window under 'Duration'.
On the participant's end, the triggered survey will display on their project calendar page based on their response to this selected date-time question, as shown in the example screenshots below.